Last updated: July 29, 2026
Basic horse riding cues are the way you use your seat, legs, hands, and voice to tell the horse where you want him to go and how you want him to carry himself. When a horse understands these signals, transitions become predictable, turns become lighter, and your aids become much quieter.
The Order Your Horse Feels Your Aids:
- 1. Seat — your first signal: Your balance and body tell the horse what’s coming before you even move a muscle.
- 2. Legs — create movement and shape the body: Your legs ask for forward motion and help guide the horse through turns.
- 3. Hands — refine the response: Your reins should support your seat and legs, not replace them.
- 4. Voice — reinforce the lesson: Your tone helps the horse understand and anticipate, especially when they’re young or green.
Most beginners try to steer a horse like a bicycle—pulling the left rein to go left, the right rein to go right, and both reins to stop. That’s not riding; that’s just making a horse pull against you. I’ve seen plenty of horses get confused that way, especially ones that have already been handled too roughly. True equestrian communication relies on a specific hierarchy of natural aids, and the horse should feel your seat first, your legs second, and your hands last.
Table of Contents
Let’s break down these core signals in the exact order a horse feels and learns them.

Horse Commands vs. Riding Aids: What’s the Difference?
People searching for “horse commands” are usually picturing a simple list of words: walk, trot, whoa, back. That part matters, but the real teaching comes from what your body is doing when you say the word. That list is below. But the mistake many beginners make is thinking these words are magic buttons. A horse doesn’t understand the word “walk” by itself. The horse learns the whole package — your voice, your seat, your leg, and the release when he gives the right answer.
The word is just a label. The real command is everything else you do with your body. I’ve started plenty of green horses that understood a light aid right away, and I’ve retrained plenty that had been taught to ignore everything. The words never changed. What changed was whether the horse had been taught to pay attention to what was behind them.
| Command | Meaning | Rider Cue Behind It |
|---|---|---|
| Walk on | Move forward at a walk | Relax your seat, squeeze legs lightly |
| Trot | Move into the trot | Leg pressure plus a voice cue |
| Canter / Lope | Move into the canter | Outside leg behind the girth, plus a seat cue |
| Whoa | Stop or slow down | Seat stops driving, fingers close on the reins |
| Stand | Stop and stay still | Relax your body, reinforce patience |
| Back | Move backward | Close hands, shift weight back, ask softly |
One command you’ll sometimes hear mentioned alongside these is “gee” and “haw” — traditional working-horse and driving language, where gee means turn right and haw means turn left. That’s real terminology, but it belongs to driving teams and plow horses, not standard riding instruction. If you’re in the saddle rather than behind a horse in harness, you won’t use gee and haw — you’ll turn using the seat, leg, and hand cues covered below.
Foundation Check: Readiness for Basic Horse Riding Cues
Before you even think about refining your signals in the saddle, you have to evaluate the horse’s mental state. If an animal is anxious, sour, or unfocused, your aids will struggle to get through.
A horse that won’t stand quietly for mounting is usually telling you something about its patience and foundation, and no amount of fancy riding fixes that from the saddle. With those horses, I go back to basics: a mounting block, a quiet stand, and a clear expectation before the ride even begins.
Some horses will tell you right away if they’ve been handled rough — you feel it in the brace, the hollow back, or the way they argue every little thing instead of trying to understand. Ask for a quiet standstill at the mounting block before every ride starts—no forward movement until the horse softens and stops fidgeting. Establish a quiet baseline before putting your foot in the stirrup.
Seat Cues: The Master Riding Aid
Your seat (your pelvis, weight distribution, and core) is the most powerful tool you have. The best riders in the world rely on quiet, almost invisible seat cues. A horse is extremely sensitive to changes in your balance, weight distribution, and muscle tension; they can absolutely feel you shift your weight two inches to the left.
- To ask for forward motion: Open your pelvis and allow your hips to swing with the motion of the horse’s back.
- To ask for a halt: Stop actively driving the motion while staying balanced and relaxed in your core. Avoid bracing or getting stiff. A well-trained horse will feel your energy settle and will naturally slow or stop to rebalance under you.
The Mistake: Leaning your upper body into a turn like a motorcycle rider.
The Horse’s Reaction: The horse feels your weight shift off-center. To keep from falling over, they drop their inside shoulder, speed up, and cut the corner sharply.
The Fix: Keep your weight centered over your seat bones. Look in the direction of the turn, but do not lean.
Once you establish a quiet, communicative seat, your legs step in to refine the message.
Leg Cues: The Engine and the Steering Wheel
Beginners are often taught to “kick to go.” While a squeeze of the calf does create forward momentum, your legs are actually your primary steering mechanism.
Imagine your horse’s ribcage is a tube of toothpaste. If you squeeze the back of the tube (your legs behind the girth), the energy shoots forward. Your leg asks the horse to move away from that pressure, but how cleanly that happens depends on the horse’s training, balance, and understanding of the aid — a green horse won’t respond the same way a finished one does. Here is how you use that pressure:
- Both legs at the girth: Squeeze simultaneously to ask for forward impulsion.
- Inside leg at the girth: Creates a pivot point for the horse to bend around during a turn.
- Outside leg behind the girth: Prevents the horse’s hindquarters from swinging outward during a circle.
Note: Leg pressure works best when supported by a steady outside rein to prevent the horse from simply overbending their neck without moving their body.
One of the most common issues I see with claiming horses arriving at our barn is that they are “dead to the leg.” That usually doesn’t happen overnight — it comes from somebody nagging them every stride until the horse quits listening. In a racing barn, you see this a lot, because these horses come with different histories — some have been ridden by several exercise riders over their career, and every rider leaves behind habits, good or bad.
You can usually spot it within the first few strides: your leg means nothing to that horse until you ask with enough clarity to get past whatever it has been trained to ignore. The golden rule of leg cues is: Ask lightly, tell firmly, then take your leg off. The release of pressure is what teaches the horse he gave the right answer. A lot of horses want that clarity. They just need somebody fair and consistent enough to give it to them. The trick isn’t to keep saying it louder. The trick is to ask cleaner.
From there, your hands step in to shape the energy your legs just created.
Hand Cues: Shaping the Energy
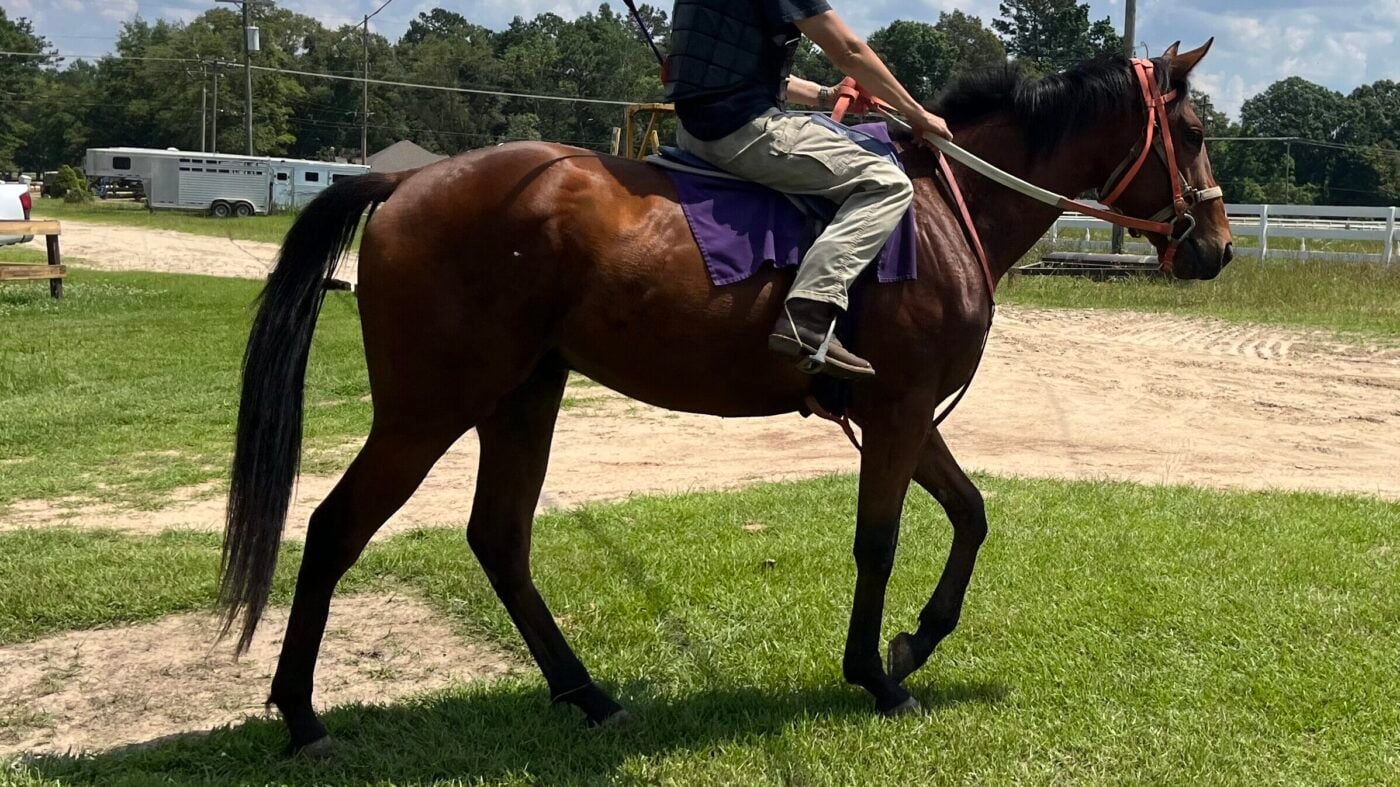
The reins should act like a communication line connecting your elbow to the horse’s mouth. They are not a steering wheel, and they are certainly not a handle to pull yourself into the saddle. Your body asks for direction; the reins only refine it.
You use your hands to capture the forward energy. If you want to turn left, you don’t drag the horse’s head to the left. You use your left leg to push the horse’s body left, and you simply open your left hand to show the horse the open door.
The Mistake: Pulling backward aggressively on both reins to stop, without using your seat.
The Horse’s Reaction: The horse throws their head straight up in the air, hollows out their back, and braces their jaw against the bit (rooting). They might stop, but it will be a rough, jarring halt.
The Fix: Stop your seat first. Close your fingers on the reins like squeezing a sponge, but keep your elbows soft. Once the horse halts, immediately soften your fingers to reward them.
Voice Cues: The Supporting Aid
Horses do not speak English, but they are masters of tone and pattern recognition. A sharp, descending “Whoooa” works because of the relaxing vibration of the tone, not the dictionary definition of the word.
Always deliver your voice cue a split-second before your physical aid. If you say “Trot” and then immediately squeeze your legs, the horse will quickly learn to transition off the vocal cue alone, making your rides incredibly light and responsive.
Connecting Basic Cues to the Canter
If you have read our beginner’s guide to the canter, you know that a clean canter departure requires setting the horse up on the correct lead.
You cannot execute a canter cue if the horse doesn’t understand leg and seat pressure. To ask for the canter, you must use your outside leg behind the girth to encourage the outside hind leg to initiate the stride and establish the correct lead, while using your inside leg at the girth to maintain momentum. If your horse ignores pressure at the walk and trot, the canter transition will usually be messy too. In my experience, a horse that won’t listen in the flat work seldom gets prettier when you ask for more speed.
Master the cues at the walk. Refine them at the trot. The canter will take care of itself.

FAQs About Riding Cues
What are the basic commands for a horse?
The most common horse commands are walk, trot, canter, whoa, stand, and back, plus directional cues like gee and haw in driving situations. But the word itself is only part of the communication — a horse learns the combination of your voice, body position, and pressure and release, not the word alone.
What is the correct order of riding aids?
The standard hierarchy is Seat, Leg, Hand, Voice. You stop your seat, restrict with your legs, capture the energy with your hands, and support the command with your voice. Using your hands before your seat causes the horse to brace.
Why does my horse ignore my leg cues?
Horses usually become ‘dead to the leg’ because the rider is constantly nagging them with light kicks or squeezing permanently. To fix this, ask lightly once. If they ignore it, squeeze firmly. As soon as they move forward, completely relax your leg. The release of pressure is the reward.
How do I stop my horse without pulling the reins?
Focus on your seat. Stop actively driving the motion of the horse’s walk or trot. Tighten your core and sit heavy on your pockets. A responsive horse will feel you stop riding and will naturally slow down to rebalance under you. You should only need a light squeeze of the reins to support the seat cue.
Should I click or cluck to make my horse go?
Yes, a cluck or kiss sound is an excellent supporting voice cue. However, it must be paired with a leg cue. If you cluck but your body remains tense and your legs are off the horse, the horse receives mixed signals.
About Miles Henry
Racehorse Owner & Author | 30+ Years in Thoroughbred Racing
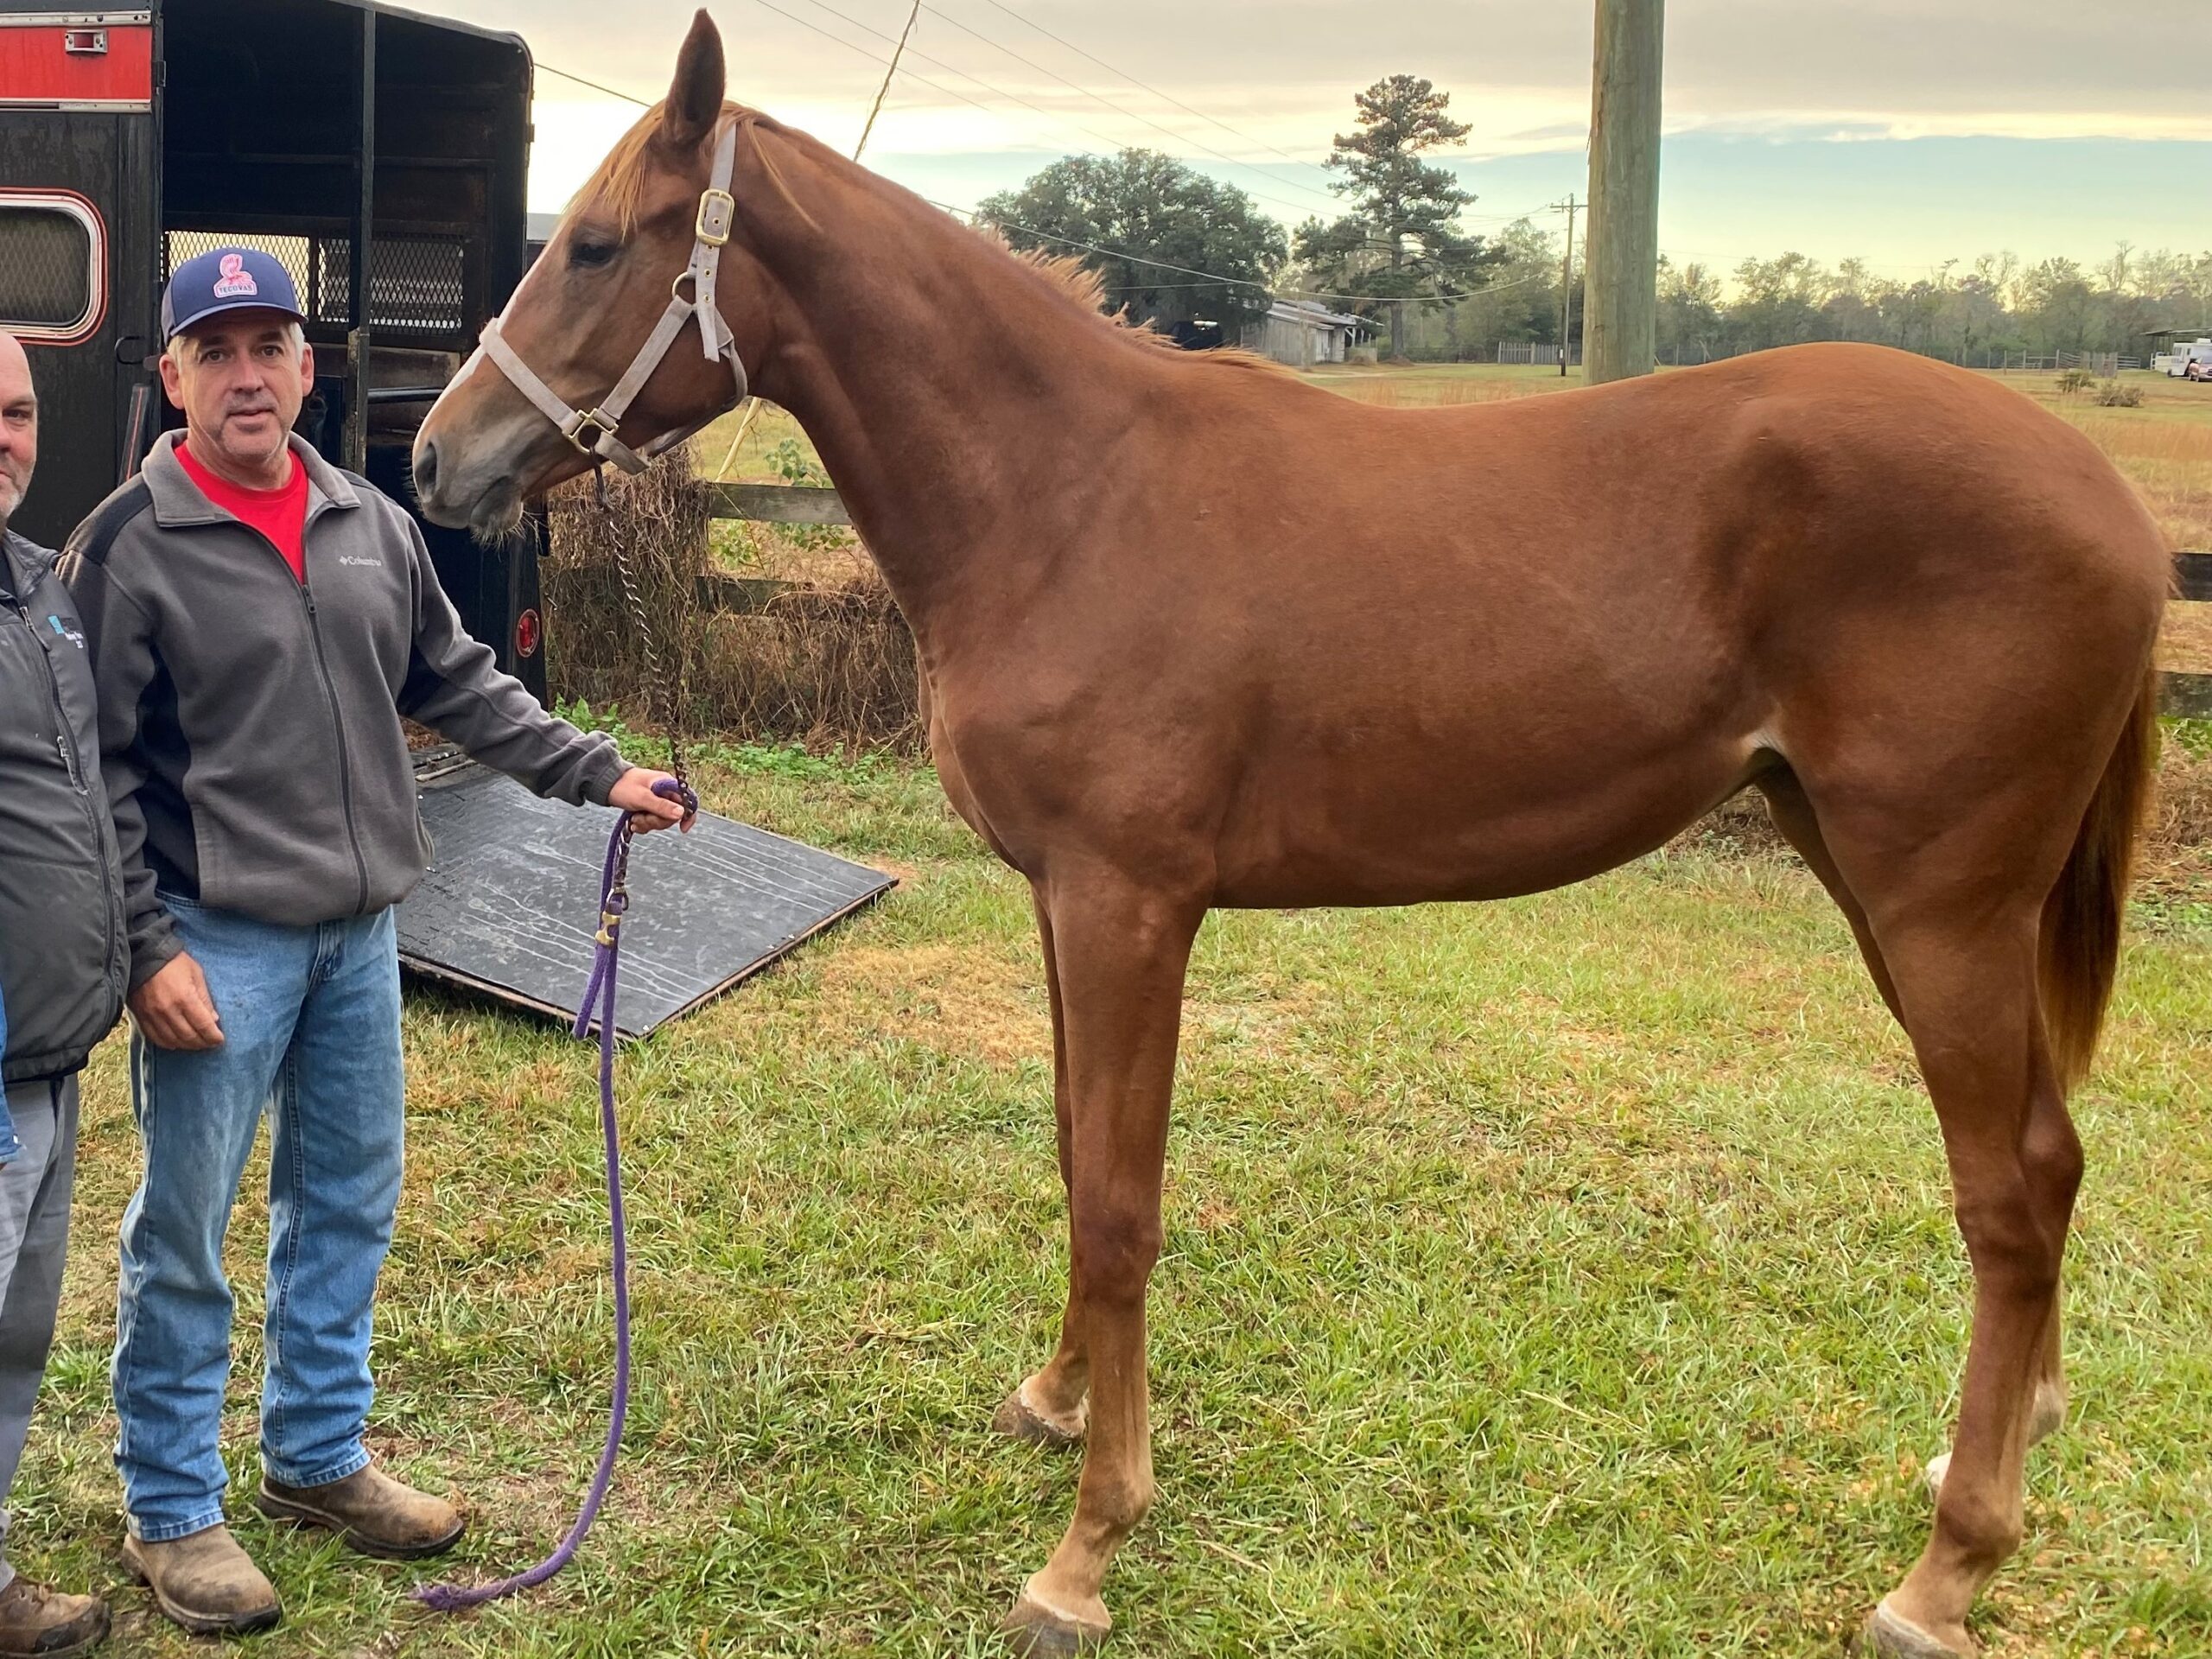
Miles Henry (legal name: William Bradley) is a professional horseman based in Folsom, Louisiana. He holds Louisiana Racing License #67012 and has spent over three decades managing Thoroughbreds at premier tracks including Fair Grounds, Delta Downs, and Evangeline Downs.
Expertise & Hands-On Experience: Beyond the track, Miles has decades of experience in specialized equine care, covering everything from hoof health and nutrition to training protocols for Quarter Horses, Friesians, and Paints. Every guide on Horse Racing Sense is rooted in this “boots-on-the-ground” perspective.
30 of their last 90 starts
Equibase Profile.

Connect with Miles: