Last updated: January 8, 2026
As the date of your first horse riding lesson approaches, you might feel excited and a little bit nervous. That’s normal. You’ve always been fascinated by horses and dreamed of learning to ride. And soon, that dream will become a reality. So are you prepared, and what can you expect to occur?
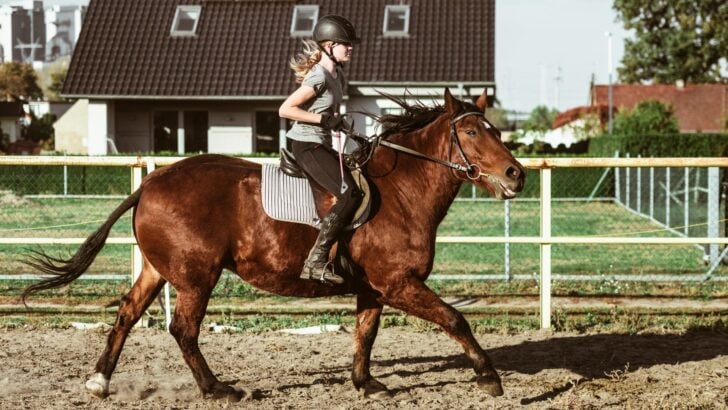
To prepare for your first riding lesson, make sure you have appropriate clothing and footwear. Arrive early to get comfortable with the facility and meet your instructor. You’ll likely learn basic horsemanship and rider safety and be introduced to the horses. Listen to your instructor and ask questions.
This is just the beginning of your horseback riding journey, but you can’t wait to see where it takes you. So, buckle up and get ready for an exciting ride.
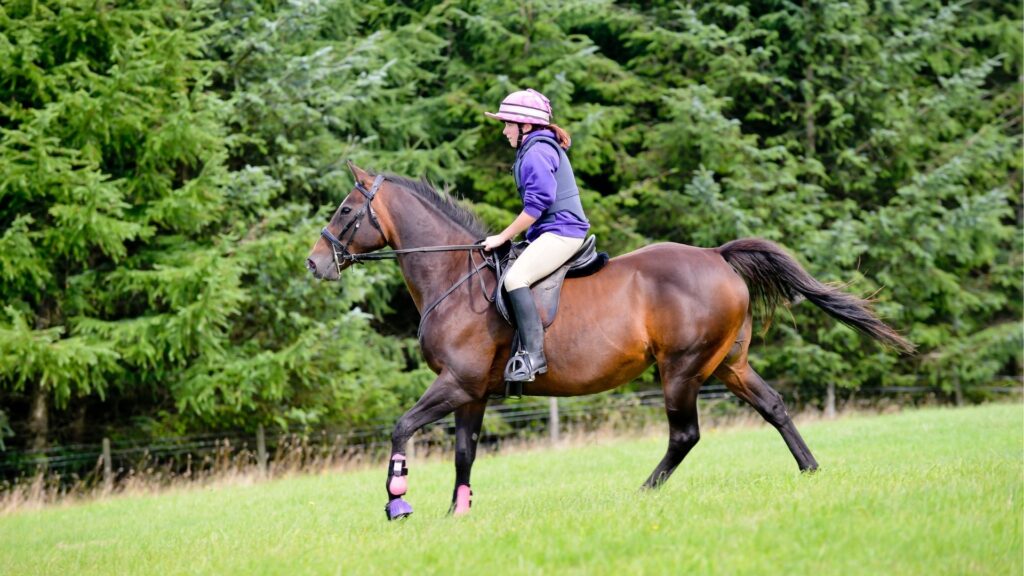
Table of Contents
Preparing for Your Horse Riding Lesson
Preparing for your riding lesson requires both mental and physical readiness to ensure a safe and enjoyable experience. To get physically ready, you should engage in activities that help develop balance, core strength, and flexibility, such as yoga or pilates.
Mentally, it’s important to approach your lesson with a positive attitude and willingness to learn. You may also want to read up on horse behavior and basic riding techniques to familiarize yourself with the sport. By being physically and mentally prepared, you’ll be able to fully engage in your lesson and get the most out of your time with the horse.
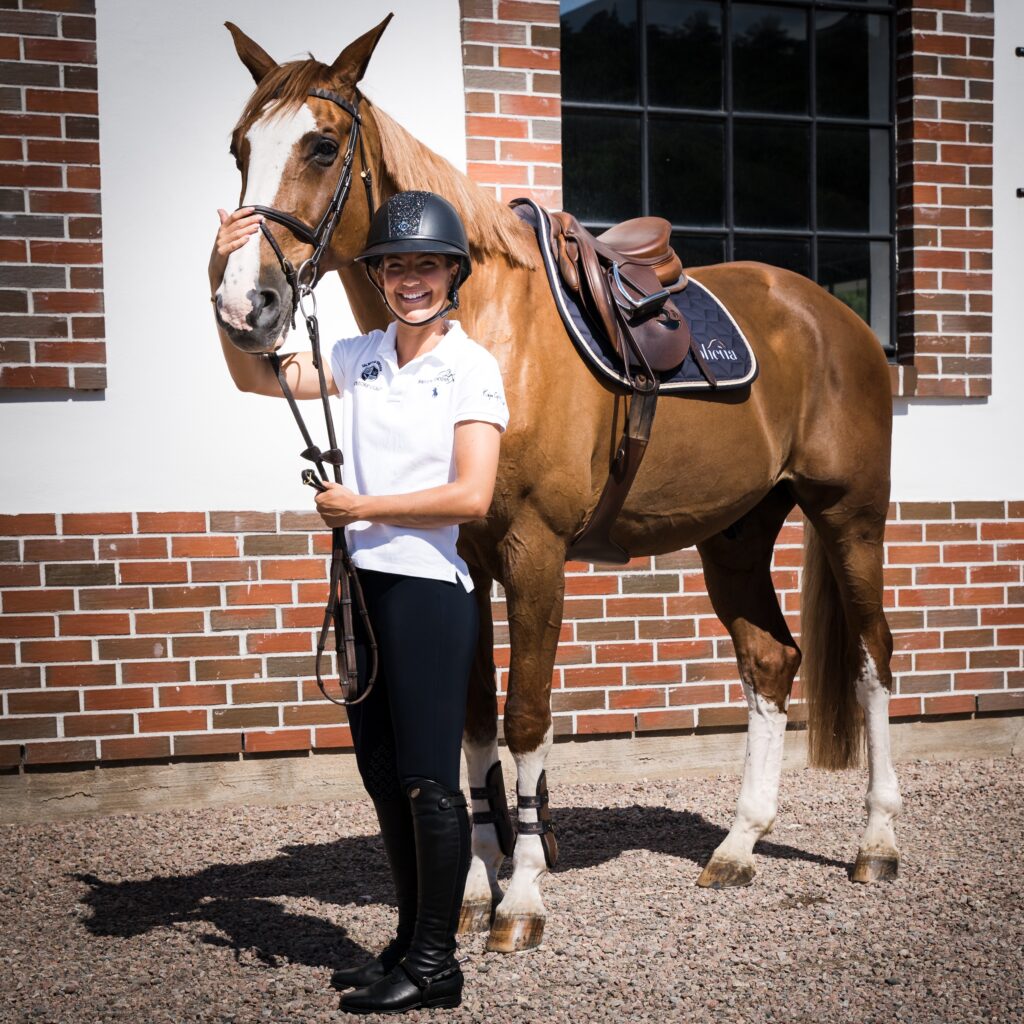
What to wear
When you attend horseback riding lessons, it’s important to wear appropriate clothing and bring the necessary items with you. To ensure my kids were prepared for their first lesson, they wore comfortable, breathable clothing that allowed for movement, such as jeans and a moisture-wicking shirt.
I also ensured everyone wore closed-toe shoes with a heel, such as cowboy, paddock, or English riding boots, to provide stability in the stirrups. And bring a helmet that fits properly and is easy to adjust to every lesson.
In addition to these items, it’s also a good idea to bring water, a snack, sunscreen, and insect repellent, especially if riding outdoors. I suggest you contact the training facility and request a list of required riding gear because some places require riders to wear protective riding vests.
Arrive early for your riding lesson.
Preparing adequately for your first riding lesson is important to ensure a smooth and enjoyable experience. It’s recommended that you arrive with enough time before your scheduled lesson to get yourself organized and familiarize yourself with the riding facility and its surroundings, such as the arena, stables, and tack room.
This will give you the opportunity to become acquainted with your instructor and the staff and to ask any questions you may have. This is a good opportunity to let them know if you have any previous experience or specific goals for your lesson.
Which will help them tailor the lesson to your needs and ensure you get the most out of your time together. It will also give you time to meet your assigned horse and to become comfortable around them.
You can observe their behavior and temperament and learn how to handle them safely. In addition, you’ll have ample time to prepare your equipment beforehand, such as your helmet, boots, and gloves, and making any necessary adjustments is essential.
Being adequately prepared can help to reduce any stress or anxiety associated with trying something new and allow you to approach your lesson with a more positive and confident mindset.
Arriving early also allows you to complete any necessary paperwork or sign waivers and make you feel more prepared and comfortable for your lesson. For additional support, download the USEF First Lesson Checklist provided by the United States Equestrian Federation.
Here is a YouTube video of a girl’s first horseback riding lesson.

What Riders Can Expect During Their Riding Lesson
During a riding lesson, riders can expect to learn the basics of horseback riding and how to care for their horse. They will be introduced to the different types of horse tack, such as the saddle, halters, bridle, bit, reins, and stirrups, and learn how to properly put them on and adjust them.
Additionally, riders will learn about basic horse care, such as leading, tying, and grooming horses. With the guidance of their instructor, riders will develop a deeper appreciation for the partnership between horse and rider while gaining confidence and skill in horseback riding.
This includes learning how to communicate with and control the horse using body language and the proper use of equipment.
Learning about Tack
When riders arrive for their lesson, they can expect to be introduced to their horse and the tack that they will be using. Tack is the equipment that is placed on the horse’s body in order to ride it comfortably and safely. Here are the common types of horse tack:
- Saddle: The saddle is the seat on the horse’s back, and it helps the rider stay balanced and secure while riding. Saddles come in different styles, such as English and Western, and should fit both the horse and the rider properly.
- Bridle: The bridle is the set of reins and headgear that the rider uses to control the horse’s movements. It includes a bit, which is placed in the horse’s mouth, and reins, which are held by the rider.
- Bit: The bit is a piece of metal that goes in the horse’s mouth and is attached to the bridle. It is used to communicate with the horse and give the rider more control.
- Reins: The reins are long straps that are attached to the bit and are held by the rider. They are used to communicate with the horse and direct its movements.
- Stirrups: Stirrups are the footrests that hang from the saddle. They help the rider maintain balance and control by allowing them to put weight on their heels.
During the lesson, riders can expect to learn about the different types of tack and how they work. They will learn how to properly put on and adjust the tack, as well as how to maintain it.
They will also learn how to communicate with the horse using the reins and bit and how to use their body weight and balance to communicate with the horse without relying on the reins. By the end of the lesson, riders should feel comfortable and confident in their ability to handle and ride a horse using the proper tack.
Riding Skills
As a beginner rider, you can expect to learn fundamental riding skills and techniques during your lessons. Your instructor will start by teaching you how to safely mount and dismount the horse, steer, and stop.
Mounting:
When it comes to mounting a horse, it’s important to follow some basic guidelines to ensure that the rider and horse remain safe. Here are some additional details on how to safely mount a horse:
- Position the Horse: Position the horse close to a mounting block or other sturdy objects that you can use to assist in getting onto the horse’s back.
- Adjust the Stirrups: Adjust the stirrups so that they are at the appropriate length. The stirrup should be at the height of your ankle bone when standing with your feet out of the stirrups.
- Place Your Left Foot in the Stirrup: Place your left foot into the stirrup and use your left hand to hold onto the reins and the saddle.
- Swing Your Right Leg Over: Push yourself up from the ground, and swing your right leg over the horse’s back, positioning yourself in the saddle.
- Adjust Your Position: Adjust your position in the saddle, ensuring that your feet are properly in the stirrups and that you have a balanced and centered seat.
Steering and Stopping:
Once you are safely mounted on the horse, the next fundamental skill you will learn is how to steer and stop the horse. Here are some basic guidelines for steering and stopping:
- Use Your Body Language: Use your body language to communicate with the horse. For example, turning your shoulders in the direction you want to go will signal the horse to turn.
- Use the Reins: Use the reins to guide the horse. Pulling the reins to the left or right will signal the horse to turn in that direction.
- Use Your Seat: Use your seat to communicate with the horse. If you want the horse to slow down, sit deeper in the saddle, and relax your body.
- Use Your Legs: Use your legs to communicate with the horse. Squeezing your legs gently against the horse’s side will signal the horse to move forward.
Dismounting:
Dismounting a horse is equally important to ensure that the rider and horse remain safe. Here are some additional details on how to safely dismount a horse:
- Stop the Horse: Stop the horse in a quiet and controlled manner.
- Position the Horse: Position the horse close to a mounting block or other objects that you can use to assist in getting off the horse’s back.
- Remove Your Feet from the Stirrups: Remove your feet from the stirrups, and slide them forward out of the stirrups.
- Swing Your Right Leg Over: Swing your right leg over the horse’s back and slide down the horse’s side.
- Land Safely: Land gently on the ground, using your feet and legs to absorb the impact.
By mastering these fundamental riding skills, beginner riders can develop a strong foundation for their riding abilities and begin to explore more advanced techniques and styles.
Communication
Communication with the horse is a fundamental aspect of horseback riding and involves using various body language cues to guide and control the horse. Here are some key points to keep in mind when communicating with a horse:
- Use Your Seat: Your seat is one of the most important tools you have for communicating with the horse. By shifting your weight and balance in the saddle, you can signal the horse to turn, stop, or slow down. For example, to turn left, you can shift your weight to the left and apply gentle pressure with your left leg.
- Use Your Legs: Your legs are also an important tool for communicating with the horse. By squeezing your legs against the horse’s side, you can signal the horse to move forward or increase its speed. Alternatively, by loosening your legs and allowing them to hang more freely, you can signal the horse to slow down or stop.
- Use the Reins: The reins are another important tool for communicating with the horse. By gently pulling on the reins, you can signal the horse to slow down or stop. To turn the horse, you can use one rein to apply pressure on one side of the horse’s neck while releasing pressure on the other side.
- Use Your Voice: You can also use your voice to communicate with the horse. By speaking in a calm and reassuring tone, you can help the horse to feel more at ease and relaxed.
- Be Consistent: Consistency is key when it comes to communicating with a horse. Ensure you use the same cues and signals each time so that the horse learns to associate them with specific behaviors and actions.
- Be Patient: It can take time for a horse to learn to respond to your cues and signals, so it’s important to be patient and persistent. With practice and repetition, both you and the horse will develop a stronger and more intuitive communication system.
Communication with the horses is a complex and nuanced process, but one that can be highly rewarding for both the rider and the horse. By mastering the various communication tools at your disposal, you can develop strong bonds with horses and enjoy a more fulfilling and rewarding riding experience.
Balance and Posture
Balance and posture are two essential elements of horseback riding, and beginner riders can expect to spend a significant amount of time working on these skills during their lessons. Here are some key points to keep in mind when it comes to balance and posture in horseback riding:
- Engage Your Core: Your core muscles play a critical role in maintaining your balance and posture while riding. By engaging your abdominal muscles and maintaining a stable core, you can help to stay centered and balanced in the saddle.
- Maintain a Straight Back: A straight back is important for both balance and posture. By keeping your shoulders back and your chest open, you can help to align your spine and maintain a tall, upright posture in the saddle.
- Keep Your Legs Long and Relaxed: Your legs should be long and relaxed, with your heels down and your toes pointed forward. This helps to create a strong base of support and maintain a stable position in the saddle.
- Use Your Seat Bones: Your seat bones (the bones in your buttocks) play a critical role in maintaining balance and stability while riding. By sitting deep in the saddle and applying gentle pressure with your seat bones, you can communicate with the horse and help maintain your balance.
- Adjust Your Position: Your position in the saddle may need to be adjusted depending on the gait of the horse or the terrain you are riding on. For example, when trotting, you may need to adjust your position to rise and fall with the horse’s movement.
- Practice, Practice, Practice: Like any skill, developing good balance and posture in horseback riding takes practice. Be patient with yourself, and focus on maintaining good form and technique during each ride.
Balance and posture are critical skills for any horseback rider, and beginner riders can expect to spend a significant amount of time working on these elements during their lessons. With practice and guidance, riders can develop a strong foundation in these skills and continue to refine and improve them over time.
Basic Gaits
Beginner riders can expect to spend a significant amount of time learning and mastering basic gaits during their lessons. Here are the three basic gaits that riders can expect to learn:
- Walk: The walk is the slowest gait of the horse and is characterized by a four-beat rhythm. In this gait, each foot of the horse hits the ground separately, creating a steady and predictable rhythm. Beginner riders will typically start by learning how to ride at the walk, as it is the easiest gait to learn and maintain balance.
- Trot: The trot is a two-beat gait in which the horse’s diagonal legs move together. This gait is faster than the walk and can feel more challenging for beginner riders. However, with practice and guidance from their instructor, riders can learn how to maintain balance and control at the trot.
- Canter: The canter is a three-beat gait in which the horse moves in a circular motion with its hind legs. This is the fastest gait of the horse and can be more challenging for beginner riders to learn. However, with practice and guidance, riders can develop the necessary balance and coordination to ride at the canter.
In addition to these basic gaits, riders may also learn about posting and other types of gaits. Posting is a technique used in English riding that involves rising out of the saddle with the horse’s trot.
This technique is often used to help the rider stay balanced and maintain their rhythm at faster gaits. Posting can be challenging for beginner riders. But by mastering these gaits and techniques, riders can develop the necessary balance, coordination, and control to ride safely and effectively.
Rider safety
Safety is a critical consideration in horseback riding to protect to ensure your well-being as well as the horse and individuals who may be involved in the activity, such as stable staff and spectators.
Riding horses involves inherent risks, such as falls, collisions, and other accidents. It is important for beginner riders to learn and practice a range of safety techniques and protocols to minimize these risks.
In addition, by developing a strong foundation in safety techniques and protocols, beginner riders can enjoy a more fulfilling and rewarding riding experience while also minimizing the risks of accidents or injuries to themselves and others.
Here are some key safety considerations for beginner riders:
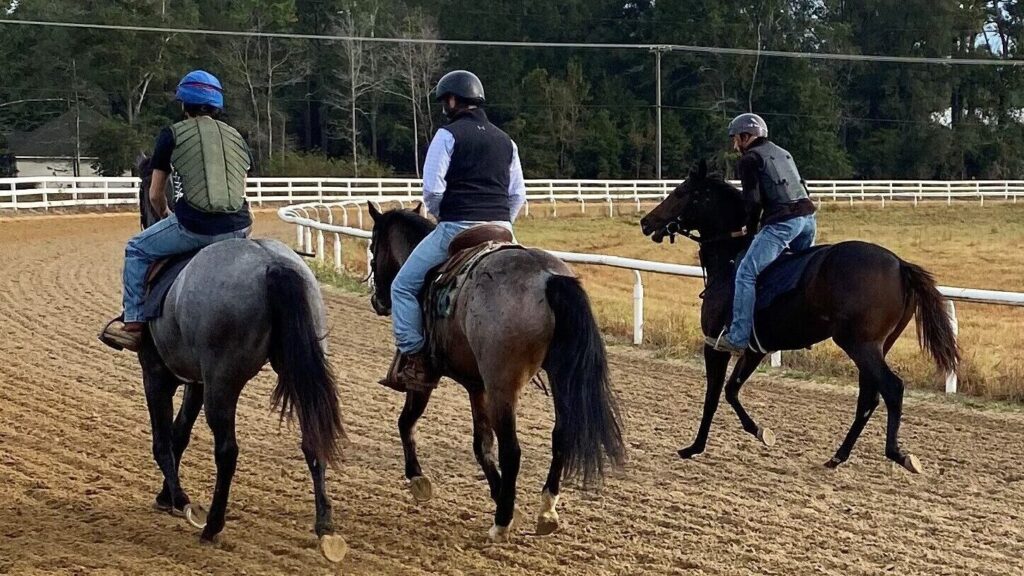
- Wearing Proper Gear: Beginner riders will typically be required to wear a helmet and appropriate riding boots during their lessons. The helmet is essential for protecting the rider’s head in the event of a fall or collision, while the riding boots provide a secure and stable base of support in the stirrups.
- Mounting and Dismounting Safely: As mentioned earlier, mounting and dismounting a horse are critical safety considerations. Beginner riders will learn how to mount and dismount safely and avoid any unnecessary risks.
- Proper Use of Equipment: Beginner riders will also learn how to properly use and adjust the equipment, such as the saddle, bridle, and reins. This is important not only for the comfort of the horse but also for the safety of the rider.
- Communication with the Horse: Beginner riders will learn how to communicate with the horse effectively, using techniques such as body language, seat, and rein cues. This helps to ensure that the horse remains calm and responsive, reducing the risk of accidents or injuries.
- Riding in a Safe Environment: Beginner riders will typically start by riding in a safe and controlled environment, such as an indoor arena or a fenced outdoor area. This helps to reduce the risk of accidents and ensures that the rider has a stable and supportive environment to learn in.
- Emergency Procedures: In the event of an emergency, beginner riders should learn how to safely dismount the horse and respond appropriately. This might include procedures for dealing with a spooked or out-of-control horse, as well as protocols for responding to injuries or other emergencies.
- Leading Horses: Beginner riders should learn how to lead horses safely and confidently from the ground. This includes learning how to lead a horse to and from its stall or pasture, as well as how to safely navigate around other horses and riders.
- Following Instructions: Following instructions from the instructor is a critical element of rider safety. Beginner riders should listen carefully to their instructor’s guidance to ensure a safe and enjoyable riding experience.
Rider safety is a critical consideration in horseback riding, and beginner riders can expect to spend a significant amount of time learning about and practicing various safety techniques and protocols during their lessons.
It’s important to listen to your riding instructor and ask questions if you have any. They are there to guide and teach you, and the more you participate and engage in the lesson, the more you will learn and progress. Remember to have fun and enjoy the experience of your first lesson.
Grooming
Novice riders can expect to learn the basics of grooming their horse. Grooming is an essential part of horse care, and it involves cleaning and maintaining the horse’s coat, mane, tail, and hooves.
By learning how to groom their horse properly, riders will not only keep their horse looking and feeling good, but they will also develop a deeper bond with their horse. Grooming also provides an opportunity to check the horse for any injuries, skin irritations, or other health problems.
Riders will learn how to check the horse’s legs, hooves, and body for signs of injury or infection. By regularly grooming their horse, riders will be able to detect any health issues early and seek appropriate veterinary care.
Post Riding Tips
After your horse riding lesson, there are a few things you can do to reflect on your progress and continue learning. Here are a few suggestions:
- Review your lesson: Take a moment to think about what you learned during your lesson and any areas where you struggled or excelled. This will help you identify areas for improvement and set goals for your next lesson.
- Practice: If you have access to a horse or can practice on a mechanical horse, try to practice the skills you learned during your lesson. This will help you build muscle memory and improve your technique.
- Ask questions: If you have any questions or concerns about what you learned during your lesson, contact your instructor. They are there to help you and are happy to answer your questions.
- Attend additional lessons: Consider signing up for additional lessons to continue learning and improving your skills. As you progress, you can also consider joining a riding club or taking lessons in a specific discipline, such as dressage or jumping.
Overall, the key to improving your horse riding skills is to stay engaged and motivated and to continue learning and practicing.
I’m feeling sore after my lesson; what can I do: Expert tips from an equestrian.
It’s common to feel sore or experience muscle aches after your first ride, this is common for even experienced riders after a break. This is because horse riding uses muscles in your core, legs, and back that you may not normally use on a daily basis.
To care for your body after a horse riding lesson, it’s important to stretch and warm up before and after your ride. This will help loosen up your muscles and reduce the risk of injury.
Some good stretches include leg stretches, such as the quadriceps and hamstring stretch, and upper body stretches, such as the shoulder roll and chest stretch.
If you do experience soreness or muscle aches after your lesson, there are a few things you can do to alleviate the discomfort:
- Take a warm bath or shower: The heat and moisture can help relax sore muscles.
- Use a foam roller or massage ball: These tools can help massage and loosen up tight muscles.
- Use an over-the-counter pain reliever: Non-steroidal anti-inflammatory drugs (NSAIDs), such as ibuprofen or acetaminophen, can help reduce inflammation and ease muscle pain.
- Get plenty of rest: Allow your body time to recover by getting a good night’s sleep and taking it easy for the next few days.
Beginner riders are particularly vulnerable to the physical demands of riding, and it is essential to listen to your body and care for yourself after each ride. Proper stretching and self-care techniques can help prevent injury and improve the overall riding experience.
By prioritizing safety and self-care, horseback riding athletes can enjoy a fulfilling and rewarding riding experience while minimizing the risk of injury or burnout.

Conclusion
In conclusion, your first horse riding lesson is an exciting and memorable experience that can help you learn new skills and techniques and gain a deeper understanding and appreciation for riding horses.
Following your instructor’s expert advice is important because horse riding can be dangerous. By preparing yourself and visiting the facility beforehand, participating fully in the lesson, and taking care of your body afterward, you can make the most of your first lesson and set yourself up for success in future lessons.
Remember to wear proper safety equipment, have fun and enjoy your horse riding lessons.
FAQs
Do I need to bring anything to my lesson?
Ensure you have all the necessary safety equipment, such as a helmet and boots. You may also want to bring water, a snack to stay hydrated and fueled during your lesson, sunscreen, and insect repellent if you’ll be riding outdoors.
How long are horse riding lessons?
Horse riding lessons can vary in length, but they usually last between 30 minutes to an hour. The length of the lesson will depend on your level of experience and the focus of the lesson.
How much do horse riding lessons cost?
The average cost for riding lessons is fifty-five dollars. However, the price varies depending on your location, the facility, and the instructor. Private lessons with an instructor cost more than group lessons, and the cost also depends on the length of the lesson.
Is horse riding safe?
Horse riding can be a safe and enjoyable activity when proper safety measures are followed. Make sure to listen to your instructor and follow their instructions, wear appropriate safety equipment (such as a helmet), and respect the horse’s boundaries.
About Miles Henry
Racehorse Owner & Author | 30+ Years in Thoroughbred Racing
Miles Henry (legal name: William Bradley) is a professional horseman based in Folsom, Louisiana. He holds Louisiana Racing License #67012 and has spent over three decades managing Thoroughbreds at premier tracks including Fair Grounds, Delta Downs, and Evangeline Downs.
Expertise & Hands-On Experience: Beyond the track, Miles has decades of experience in specialized equine care, covering everything from hoof health and nutrition to training protocols for Quarter Horses, Friesians, and Paints. Every guide on Horse Racing Sense is rooted in this “boots-on-the-ground” perspective.
30 of their last 90 starts
Equibase Profile.
Connect with Miles: