Last updated: February 2, 2023
My grandson noticed we give special attention to the new horses when we bring them home. Seeing the unique activity surrounding the animal prompted him to ask why we treat a new horse differently and what our system is.
We recently bought two yearlings; these horses have spent their entire lives in one pasture. My grandson noticed the special attention I gave these horses over the first few weeks and wanted to know why. I told him that all horses going to a new home need a watchful eye.
Transitioning horses to their new home with care and forethought is essential to avoid injury and sickness. Horses are prey animals and are inherently nervous, so their new home must be free of safety hazards. They are also susceptible to disease and severe medical conditions such as colic.
Bringing a horse home for the first time is exciting; however, it’s critical to have a plan for your new animal’s arrival and transition to its new home. Following some simple guidelines will benefit both you and your new best friend.

Prepare your facility for the new horse.
Your new horse is uprooted and brought to a new home without its approval. You can do some things to make the transition to its new home more comfortable and some that are essential to its safety and well-being.
Safety is the most crucial consideration when planning a horse’s arrival at a new home.
Make sure all horses are up to date on their vaccinations.
Every horse at your facility must be current on all vaccinations, especially the Coggins test. The Coggins test checks for equine infectious anemia (EIA), a highly contagious disease known as “swamp fever.”
Currently, there is no effective treatment or vaccine to prevent the spread of the disease. EIA is transmitted rapidly among horses by horseflies and other insects.
EIA can be fatal in some horses; however, some horses show little signs of the disease but will be a carrier for life. These carriers pose a threat to all horses in their community.
EIA outbreaks have led to the deaths of many horses; for this reason, all horses on your farm must have an annual Coggins test, and you mustn’t expose a new horse to others without a current Coggins.
Moving a horse to a new home increases its stress level, and stress weakens a horse’s immune system. When stress hormones elevate, disease agents are more likely to make a horse sick.
To protect against infectious disease, demand a copy of your new horse’s vaccines, Coggins test, and wellness check. Also, ensure that both the newcomer and residents have been on an appropriate de-worming program.
Consider your new horse’s diet and plan accordingly.
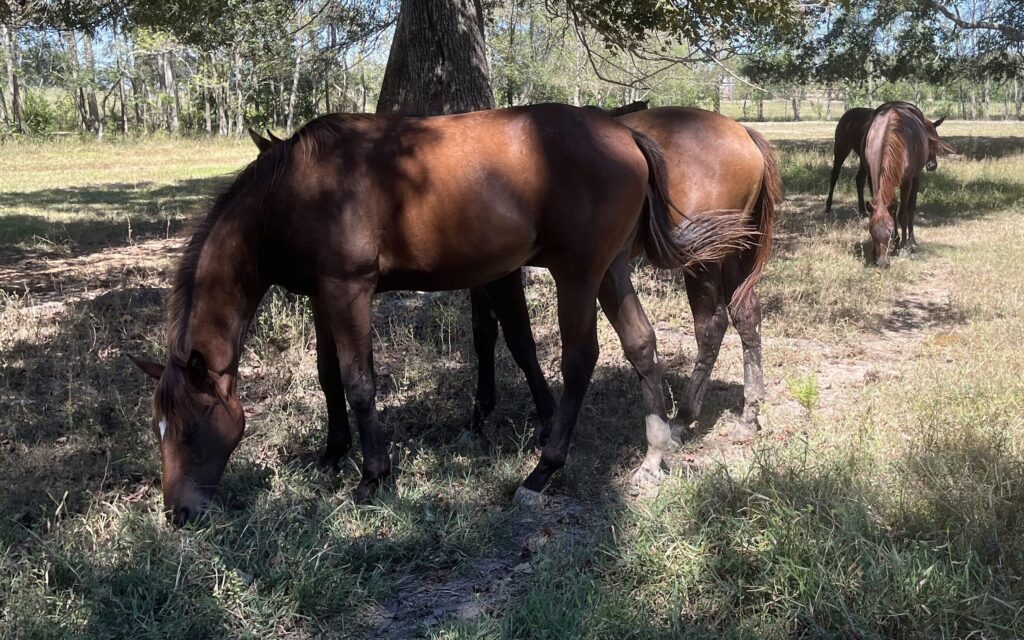
When we buy a new horse, I always question the previous owner about how they fed the animal because it’s critical to avoid making drastic dietary changes. Plan diet changes carefully to avoid health problems.
Before you bring the horse home, you need to know the type of feed and hay it’s been eating and the portions. It is also essential to find out how much your new horse typically eats per day and if the animal was fed pellets, hay, or cubes. (Make sure you have familiar food on hand to help transition to a new diet.)
The more information you have about its diet, the less chance your horse will get off its feed. Switching feeds or changing pastures can lead to severe problems such as colic or laminitis, so make changes gradually over time to minimize risk.
Also, an equine digestive system adapts to diet changes more efficiently over time. Drastic food changes typically lead to vitamins and nutrients passing through the animal without absorption.
If you feed all your horses the same feed and hay and intend to transition your new horse to the same feeding plan, here are some rules you should follow:
- When switching grains: Replace 25 percent of the current feed with the new feed. Do this every other day until you are feeding 100 percent of the news feed.
- When changing forage: Use the 25 percent method described above. Mix the new hay with the old every other day until you are feeding 100 percent of the new hay.
- Introduction to a lush pasture: Restrict grazing time to one or two hours per day for the first several days to allow their stomach to become accustomed to the rich grass and decrease the risk of digestion upset. Feed your horse ample hay and gradually increase turnout time.
Make sure your new horse drinks plenty of water.
Like people, horses grow accustomed to how water tastes in their region. Some fussy horses might stop drinking water they find unappetizing.
When a horse is brought to a new home, make sure he drinks because dehydration is a serious condition that leads to numerous health problems. A simple way to get your new horse to drink is to add flavored electrolyte powder to the water to make it more appealing. With time and patience, your horse will drink the water at your facility.
Signs that your horse may be suffering dehydration include a lack of energy, red mucous membranes, skin tenting, loss of appetite, excessive sweating, high heart rate, dark urine, and fever.
You must monitor your horse’s water intake, and an average horse drinks five to ten gallons of water per day. If he refuses to drink and shows signs of dehydration, contact your veterinarian immediately; impact colic is a real risk.
During warm weather, you should lead your horse to a shady area and run cool water over him while waiting for the vet to arrive. Your vet will likely administer an IV to introduce fluids to prevent severe dehydration.
Stalls should be designed with the horse’s safety in mind.
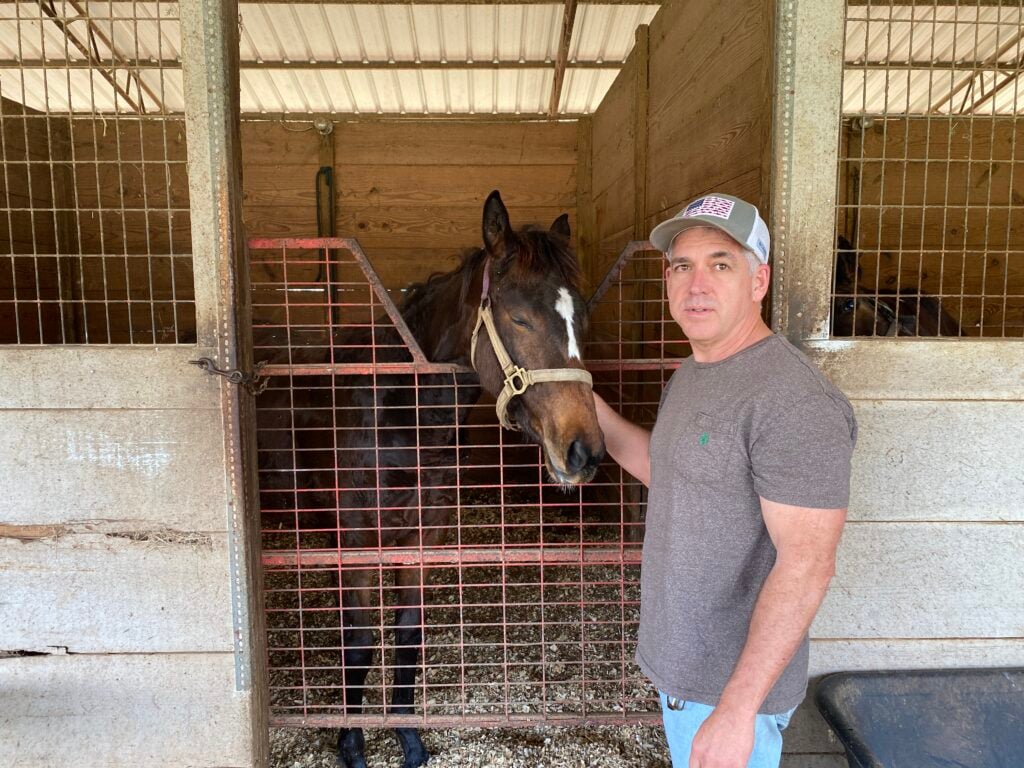
If you intend to keep your horse in a stall, be sure the enclosure is safe and has adequate room. Most standard stalls are 12 feet by 12 feet. This size is large enough to give a normal-sized horse room to lay down comfortably and also move around when standing.
Partition walls should reach eight feet to prevent horses from getting their legs caught when kicking or rearing up, and the ceiling should be a minimum of 10 feet high to allow for air circulation. Most horse barns have no ceiling but rather are open to the rafters.
Standard stall doorway openings are between 42- to 45-inches wide; this width is sufficient for the horse and handler to enter and exit safely. Each stall should have a four-foot square window for ventilation and natural lighting.
Electric lighting should be installed above eight feet high, so a horse can’t reach it, and it’s also advisable to have the bulbs enclosed in shatterproof housing.
Place the fixtures in locations that cast the least amount of shadows, which is generally along the front or sidewalls, and run the electrical wiring in plastic conduit out of reach of horses.
The interior of the horse stalls needs to be free of any sharp edges. Hardware used to tie a hay bag or hold buckets should have round edges. Here is a safe stall bucket hanger from Amazon.
We typically use an eyehook and double-ended snap work for buckets with a bail handle. I’ve learned that if there is anything in a stall that a horse can get injured on, it will likely find it.
Ensure you have a suitable floor for your stall; standard dirt floors get muddy and are challenging to clean. Ideally, you want a stall floor with some gives but doesn’t absorb too much moisture. We use clay for our stall floors and cover them with pine shavings. I’ve found this to work best for our horses.
Concrete stall floors covered with a mat are a good option; however, they can be tried on a horse’s legs. If you’re interested in reading more about stall floors, click here to read our article on the topic.
Ensure you have safe paddock and pasture fencing before bringing your horse to its new home.
Keeping your animal in an outdoor paddock or pasture is healthy and natural for horses; however, not all fencing is safe. Most horse fences are made of wire or wood.
Wide wooden boards make excellent fences because they are easy to see by horses. You have to remember that horses are prey animals and bolt when scared. Wire fences are difficult for horses to see, especially when horses are panicked.
When building fences for horses, construct them with the expectation that they will run into them accidentally at some point. Wood board fences work best with the boards inside the posts to withstand pressure and popping off.
Wire fencing should be woven and strong; avoid strands of barbed wire. If a horse gets tangled, it fights to get out and is likely to injure itself severely on the sharp tongs of barbed wire fencing material.
We typically build our fences 4 1/2 to 5 feet from the ground and start the first board about eight inches from the ground. V-crimp wire with a top board is the ideal horse fence design; however, it is expensive to build, primarily when covering large pastures.
This link is an excellent resource for planning a horse fence. The article is on the Penn State extensions website and provides a lot of useful information.
Some grooming supplies shouldn’t be shared among horses.
Infectious organisms are easily spread from horse to horse through community grooming supplies. Washing grooming tools between uses is a good practice, but for safer, stable hygiene, it’s preferable to have separate grooming tools for each horse.
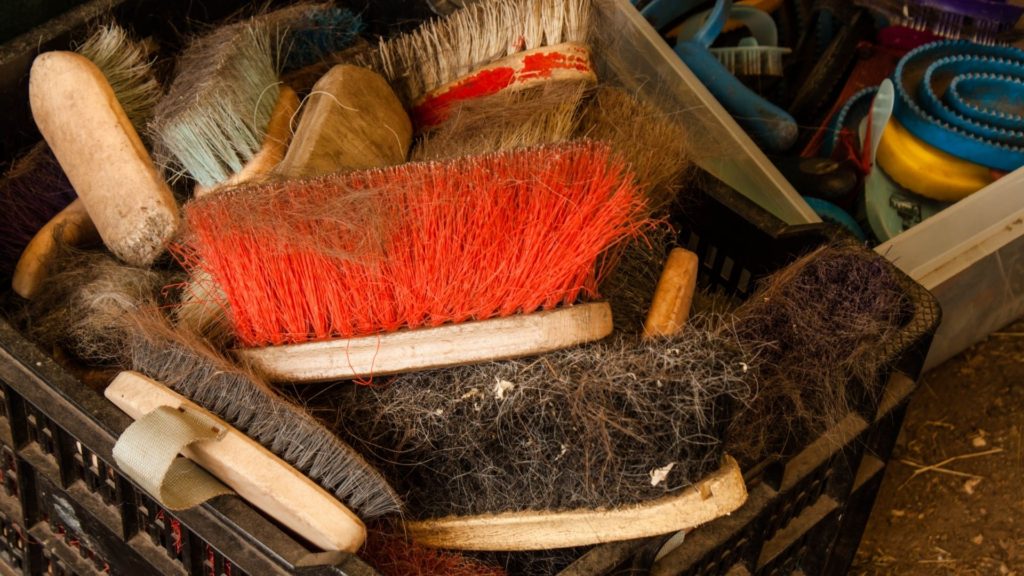
For example, rain rot is highly contagious, and washing alone may not kill the infectious bacteria, so separate brushes are a must. For each new horse, we buy a metal and rubber curry comb, stiff brush, and soft grooming brush.
We also buy a new halter and lead ropes for every horse we bring to its new home. I’ve found through the years that having designated halters keeps the barn better organized.
I prefer leather halters because of their ability to break under pressure; many people use nylon and have no problems. However, I’ve witnessed nylon halters hang up a horse and cause severe damage.
We also use a separate bit for each horse because most fit a particular horse, but also, interchanging bits between horses is unsanitary and can spread disease. However, in many cases, having a separate tool for each horse is not feasible, but some are essential to keep separate.
Ensure you have all the supplies you need before bringing your new horse home.
When bringing a new horse home, you often miss some of the essential items the horse needs. We have plenty of extra supplies around our barn, but inevitably we are missing something. That’s why it’s necessary to have a supply checklist for your new horse.
Checklist of supplies:
- Grooming brushes
- Water buckets and feed bins with snaps
- Halter and lead rope
- Hoof pick
- Hoof oil and brush
- Sponges
- Sweat scraper
- Stall hay bag
- Hoof boots
- Leg wraps
- Fly spray
Make sure you have insurance on the horse before you pick it up.
If you plan to insure your horse, you need to confirm the coverage is in effect before picking up your new horse. You don’t want to have an accident during transportation and not have an insurance policy on your animal.
Equine insurance costs are based on the value of the animal. The annual premium is typically between 3-5 percent of the animals’ worth. Luckily we had insurance on a young horse we bought at a racehorse yearling sale because, on our way home, there was a terrible accident, and the horse sustained a life-threatening injury.
Below is a helpful YouTube video that provides tips on settling your horse in a new home.
Give your horse a chance to adapt to his new home.
When we unload a new horse, we take him on a slow walk around the barn and let him see the horses in the pasture, and let him drink some clean and fresh water. We try not to bother him too much but rather allow him to take in the new surroundings as much as possible.
Before we lead him into his new stall, we check him for injuries, pick his feet, brush him properly, and rub him with particular attention to his feet and legs, feeling for heat.
If the horse traveled a long distance, we put him in a paddock alone so he can stretch and move around freely before going into his stall. Keep an eye on him and watch him move to ensure he doesn’t display signs of lameness that require veterinarian attention.
After he settles, place him in his stall and be sure he has ample amounts of hay and fresh water. During the next few days, take him out of the stall and groom him thoroughly.
Daily grooming is an excellent way to bond with a horse.
Daily handling is an opportunity to bond with your horses and also teach them the proper manners you expect from them. You should have a designated area you use to tie your horse when grooming.
Some barns use a hitching post inside their barn or a tie-ring outside of each horse’s stall. We typically use crossties at the wash rack to secure the horse when we groom our horses, and you must tie your horse when grooming to avoid injury.
When grooming a new horse, be alert, and keep your distance from his feet. I suggest standing at least a foot from the animal and being aware of his expression so you can anticipate his movements.
Always remain calm, move purposefully, and relax; don’t start jerking around the horse. If you notice the horse pin its ears or stomp its feet, he is likely irritated, and you need to address the issue by adjusting your grooming method, but he needs to learn that this is a normal process.
Over time and with respectful grooming techniques, horses typically enjoy the experience and often develop a bond with their groomer. Keeping a routine schedule and following a regular sequence relaxes the animal and makes grooming more acceptable.
I usually start with the horse’s coat and use a curry comb to loosen dirt. I typically begin at the poll and cover his entire body except for the head and lower legs.
Currying brings loose dirt hair and dead skin to the surface that you later brush off with your stiff brush. With your soft brush, clean the horse’s head and lower legs.
Next, wipe between the horse’s legs with a sponge and also clean the sheath. Lift each foot, and use a pick to clean the hoofs; make a point to start with the same foot each time.
It’s critical to keep an eye on your new horse’s feet. A terrain change can lead to thrush, softening of the hoof walls, and other foot conditions. If you notice a problem, contact your farrier and have him evaluate your horses’ feet.
Finally, detangle the horse’s mane and tail with your fingers o a brush. Some commercial products are helpful, or you can use a hair conditioner on the mane and tails. Start detangling at the hair’s end and work towards the roots.
Grooming is an opportunity to inspect the condition of your new horse.
When you’re grooming the new animal, use your hands to rub over its body, feel for abnormalities, and become familiar with its condition, look for swelling, cuts, or insect bites.
Pay special attention to areas not readily seen, such as the inside of the ears, sheath, and under the tail. We recently found small mites in the ears of a new horse. It could have spread throughout the barn if we hadn’t caught and treated the condition. After you’ve finished your grooming and inspection, apply fly-spray, hoof conditioner, or skin conditioner as needed.
Give your horse some paddock time at his new home.
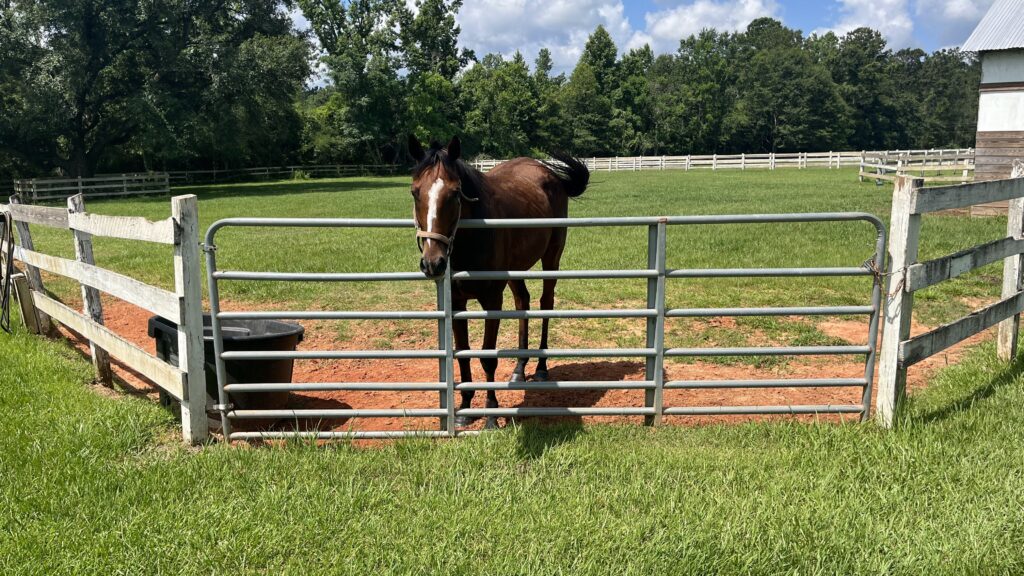
To acclimate a horse to pasture life in his new home, start gradually. After you finish grooming, instead of returning the animal to its stall, put him in a paddock adjacent to the field of horses, where he will eventually spend most of his time.
Continue to put the horse in the paddock after grooming for a few days; this makes the horse comfortable with its surroundings and the other horses. Introducing your horse to pasture and other horses is different at each facility.
The layout of horse farms is different, as well as the number and personalities of the horses. For example, we have multiple pastures and paddocks, so we can separate any bad horses if necessary.
But, if you have a herd of horses in one pasture, I would advise bringing a horse into the paddock with the new horse. For this to work, the paddock has to be a decent size; you don’t want to stick two unfamiliar horses in a tight spot.
Also, the horses make a difference; our horses are typically gentle and are accustomed to being around unfamiliar animals. We could put most new horses directly in the pasture without a problem.
Knowing the hierarchy of your herd is paramount to a new horse’s smooth transition to the pasture. And be sure to keep an eye on the horse just in case you need to get him out of the field to prevent a fight or injury.
Keep a keen eye on the condition of the new horse.
Moving to a new home is stressful on a horse, so you need to be watching for signs of problems. The most common issue is weight loss, some horses get off their feed for a while, and others don’t digest their feed efficiently after a move.
If you notice your horse losing weight, call the veterinarian and have him evaluated. Also, check him for cuts and bruising that may occur during fights in the pasture. If you believe other horses are attacking him, you need to separate him for his protection.
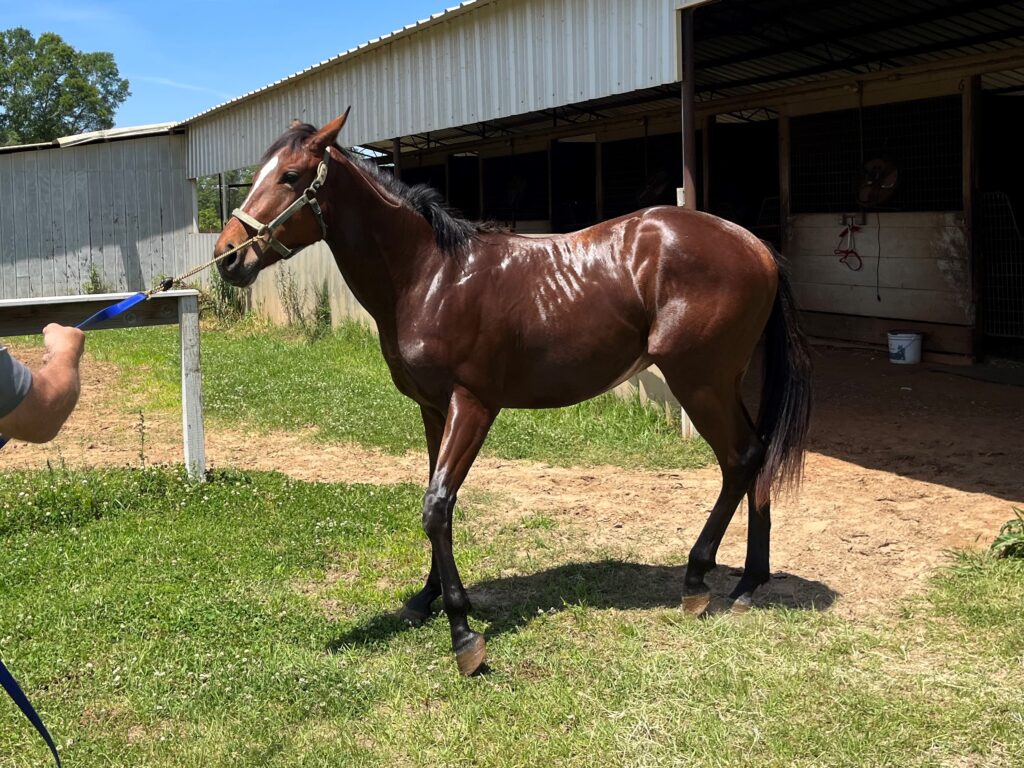
How long does it take for a horse to get used to a new home?
Our new horse arrived a few days ago, and my grandson is anxious to start riding. A few days seems like a long time for an impatient child, and he wants to know how long it takes for a horse to be comfortable at his new home.
There is no set time to determine how long it takes for a horse to get used to its new home, but most horses settle in within a couple of weeks. I write this all the time because it’s true that horses are individuals, and each adjusts to situations differently.
We’ve owned horses that could have been taken from the trailer, put directly in the pasture, and would have been fine. We’ve also owned horses that took six months before they were comfortable and accepted our farm as their new home.
The best practice is to be patient and follow the suggestion above. Your horse will eventually get used to his new home in its own time, not yours or mine.
Let your horse adjust to its new home before riding.
After a couple of days, you should have a pretty good read on your new horse’s temperament and how it’s adjusting to its new home. If it’s progressing well, you can start introducing some groundwork.
Working horses on a lunge line while in a round pen is a great way to get a feel for your animal, burn off energy, and evaluate its fitness level and flexibility.
After working your horse on the ground for a few days, you should know whether the horse is ready for riding or not. If the horse hasn’t progressed, be patient and continue its groundwork, he will come around with time. Pushing a horse too fast can cause setbacks and retard your progress.
Related articles:
- Riding a Pregnant Horse: The Do’s and Don’ts
- Can You Ride a Barefoot Horse on the Road? 10 Tips
- 12 Horse Coat Colors: Patterns, Genetics, and Pictures
- What Does a Horse Eat? An Essential Feeding Guide
- Alfalfa Pellets vs. Cubes: What’s Better for Your Horses?
- Senior Feed: Can a Horse Founder (Laminitis) on it?
- The 3 Types of Horse Riding Styles You Should Know About
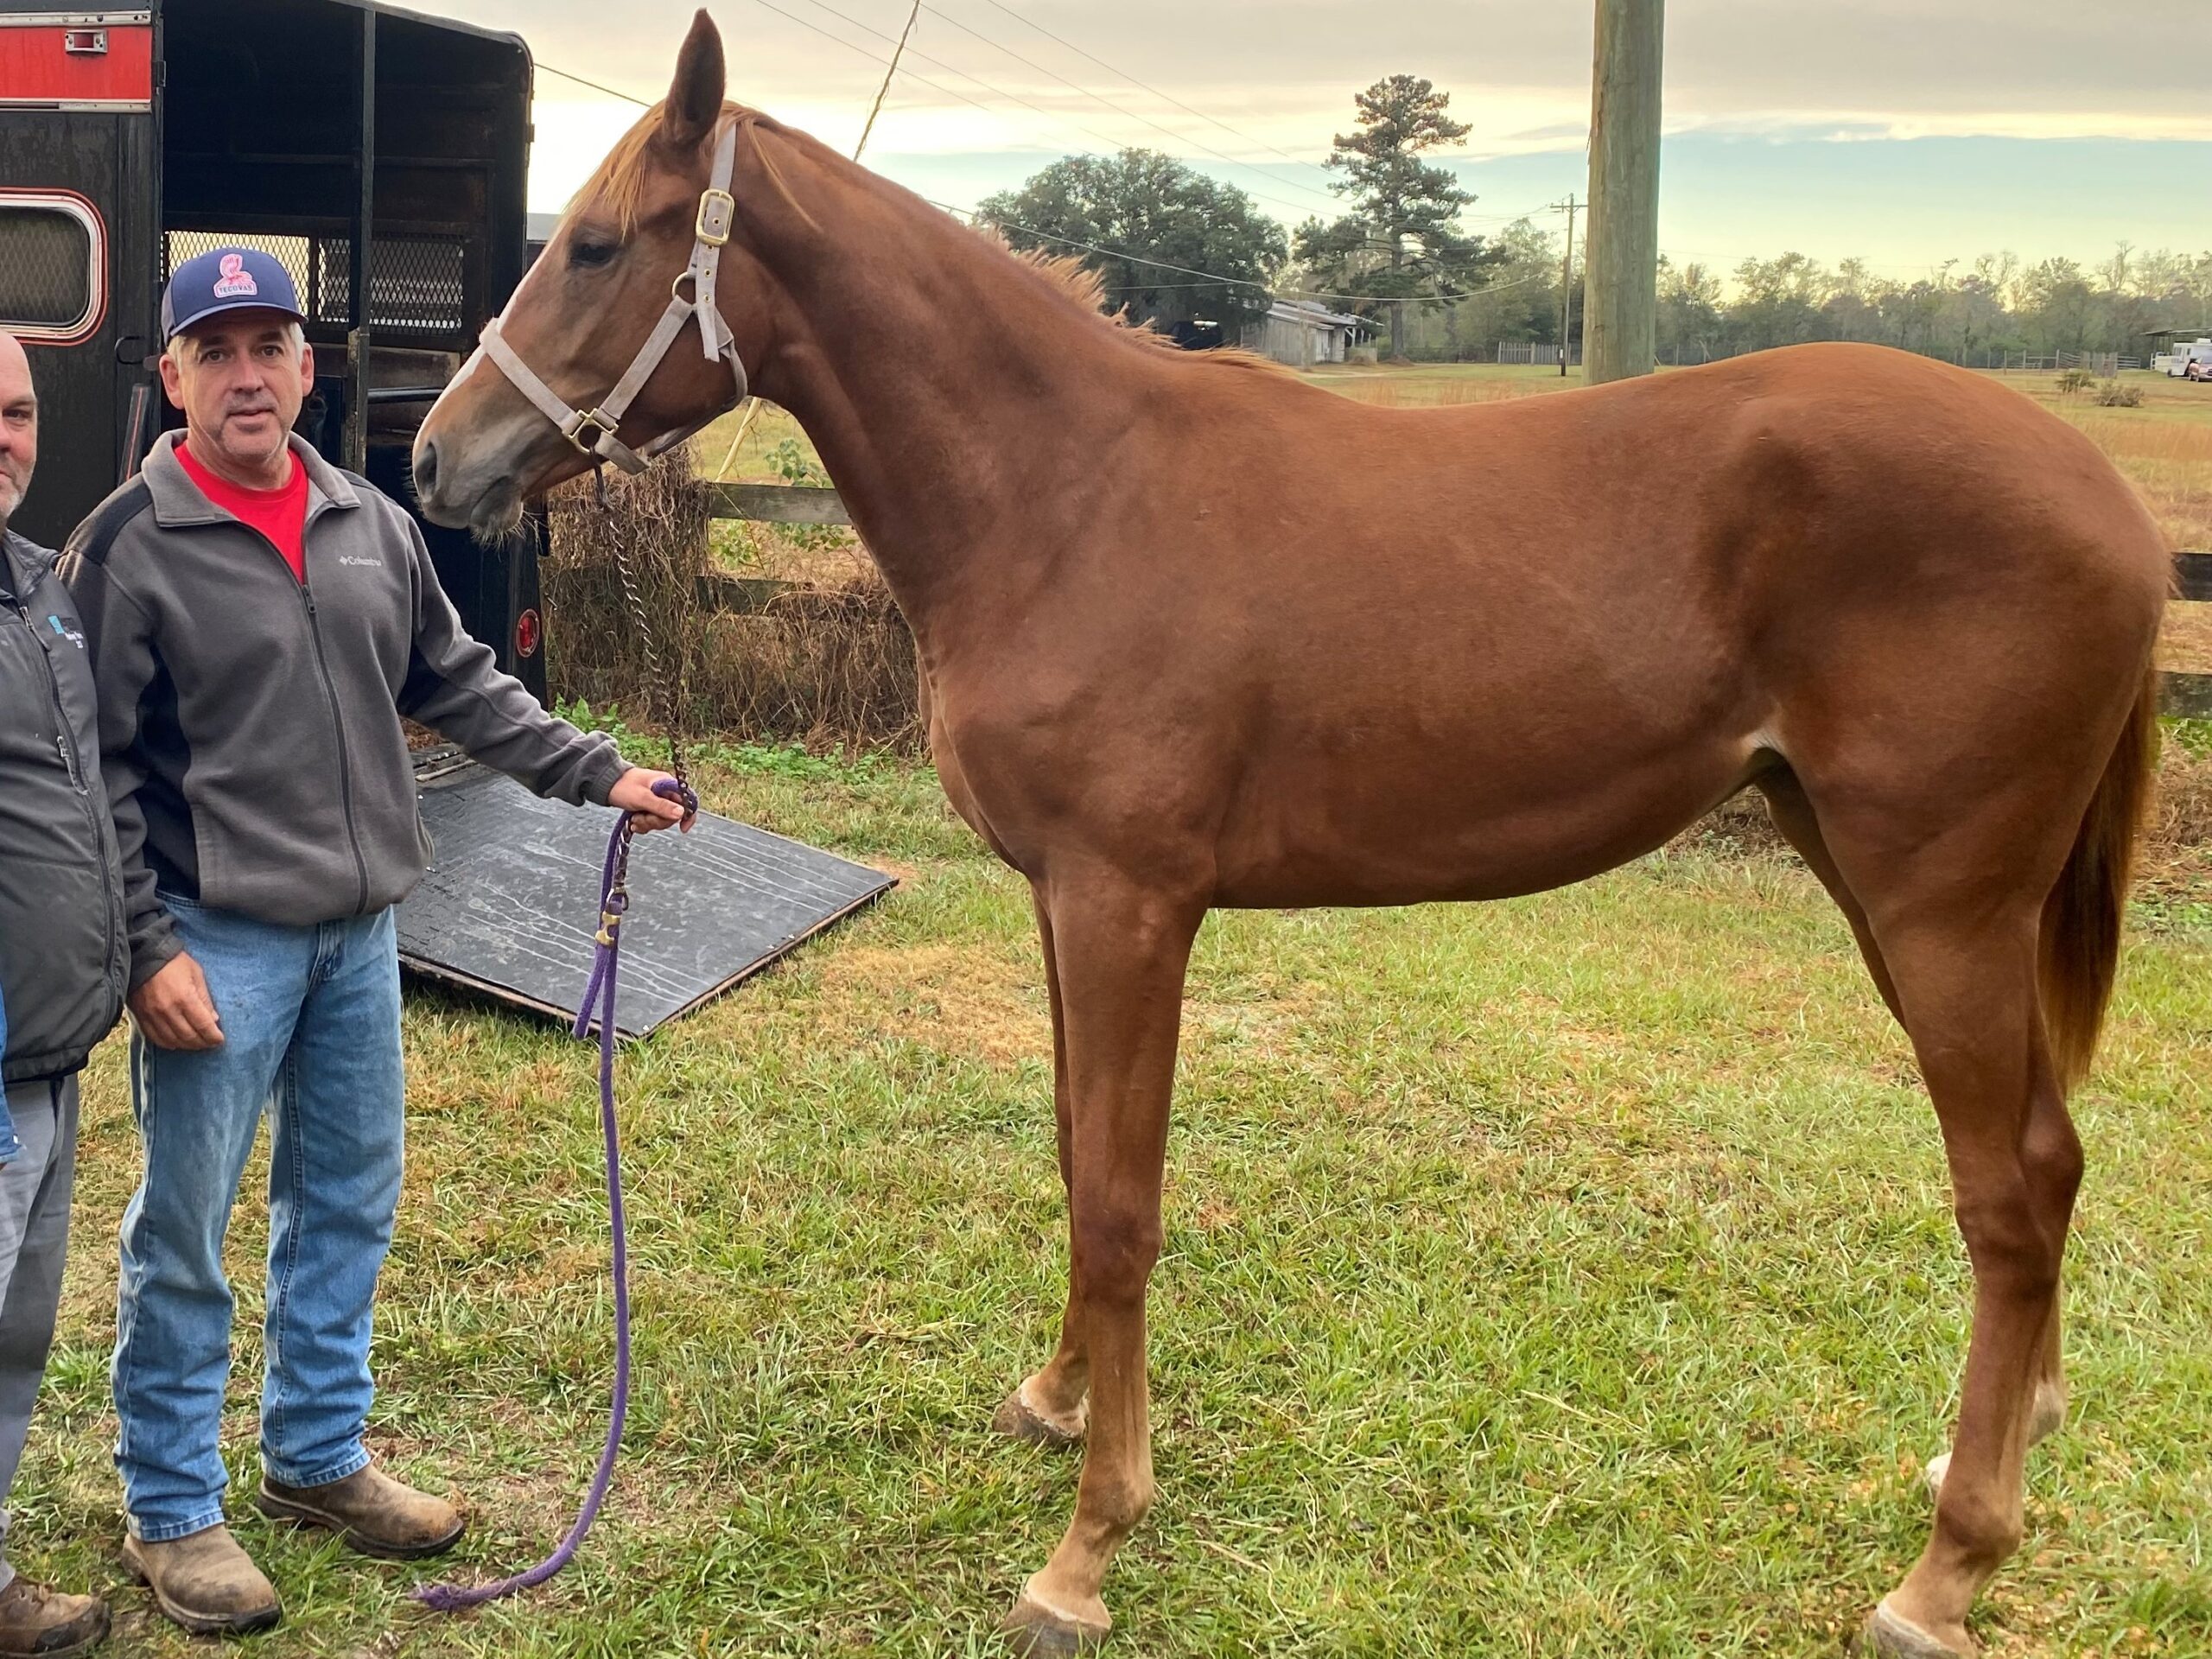
About the Author: Miles Henry
Lifelong Horseman | Racehorse Owner | Published Author
Miles Henry brings over 25 years of hands-on experience training and owning Thoroughbred racehorses. Raised with Quarter Horses and Appaloosas, he’s spent a lifetime learning from horses—on the track, in the barn, and in the field. Today, he runs a small but successful racing stable in Louisiana and shares real-world insights on HorseRacingSense.com, helping horse owners, fans, and bettors navigate the sport with confidence.
📚 Books: View Miles’s books on Amazon »
🎧 Podcast Guest: Animal Tales Ep. 32 |
YouTube Interview
📩 Newsletter: Sign up for racing tips and horse care advice »
🔗 Follow Miles:
Twitter |
Facebook |
YouTube


