

Last updated: October 8, 2026
Any links on this page that lead to products on Amazon are affiliate links and I earn a commission if you make a purchase. Thanks in advance – I really appreciate it!
Walk into a tack room for the first time, and it can look like a wall of leather, buckles, and pads. Which pieces do you need first, and which can wait?
Here’s a basic horse tack list, what each piece does, and what you can add later. If you’d like something to take to the tack store, print our beginner horse tack checklist.
Table of Contents
What Is Horse Tack?
In barn talk, tack is the gear that goes on a horse so you can ride, drive, lead, or tie him. That covers the saddle, pad, girth or cinch, bridle, bit, reins, halter, and lead rope, plus protective pieces like leg boots. Blankets and fly sheets usually aren’t called tack, and neither are grooming tools, even though most people keep all of it in the tack room.
Horse tack can be grouped into a few basic categories: riding tack, ground-handling equipment, and protective or discipline-specific gear. Riding tack and ground gear are what you need first. The third group depends on your horse and what you do with him.
Basic Horse Tack List: What You Need to Get Started
If you’re starting from scratch, this is the gear most riders need first:
| Tack item | What it’s for |
|---|---|
| Saddle | Gives the rider a secure seat and spreads the rider’s weight over the horse’s back |
| Saddle pad | Sits under the saddle to protect the horse’s back and the saddle |
| Girth or cinch | Holds the saddle in place; English riders call it a girth, Western riders a cinch |
| Bridle | Worn on the horse’s head for riding; may be bitted or bitless |
| Bit | Used with a bitted bridle to communicate rein cues through the horse’s mouth |
| Reins | Connect the rider’s hands to the bit or bitless bridle |
| Halter | Fits on the horse’s head for catching, leading, and tying |
| Lead rope | Clips to the halter so you can lead or tie the horse |
What Does Tacking Up a Horse Mean?
Tacking up means getting a horse ready to ride by putting on his riding tack. Untacking is taking it off afterward. A basic tacking-up routine looks like this:
- Tie or hold the horse in his halter and groom him, paying attention to where the saddle and girth sit.
- Pick out the feet.
- Put on the saddle pad and saddle, then tighten the girth or cinch gradually rather than all at once.
- Untie the horse before you take off the halter and put on the bridle. Have someone hold him if needed, and check the bridle’s fit before riding. Never tie a horse by the reins or bridle.
- Check the girth or cinch one more time before you get on.
Barns and disciplines do it a little differently. At the racetrack, horses are saddled in the paddock shortly before the race. Wherever you ride, have someone experienced walk you through it the first few times.
Riding Tack

Saddle
The saddle is usually one of your biggest tack purchases, so fit matters more than looks or brand. Western saddles commonly have a horn and come in designs for trail riding, ranch work, and different Western events, while English saddles are lighter and closer to the horse for jumping, dressage, and general riding. Whichever style you choose, it has to fit the horse’s back, and the University of Maine Extension’s saddle fit basics are worth reading before you buy.
Saddle pad and girth or cinch
A saddle pad protects the horse’s back and keeps sweat off the saddle, but it can’t fix a saddle that doesn’t fit. Thicker isn’t always better, and choosing a saddle pad starts with the saddle and the job. The difference between a saddle pad and a saddle blanket trips up a lot of new riders, too. The girth or cinch holds it all in place, and it should be snug without pinching behind the elbows.

Bridle, bit, and reins
A bridle sits on the horse’s head and holds the bit in place on a bitted setup. The reins attach to the bit, or to the bridle itself on a bitless setup. Bits come in different designs, including snaffles, curbs, and combination bits, so ask a trainer what suits your horse. Western riders often use split reins, while laced and rubber reins are common in English riding, and different reins feel different in your hands.
Some riders use a hackamore or another bitless bridle instead. Bitless doesn’t automatically mean gentler, though, so get help from an experienced trainer before you switch.
Halters, Lead Ropes, and Grooming Gear

A halter and lead rope are what you’ll use every day for catching, leading, tying, grooming, and trailering. Nylon halters are durable and easy to clean. Leather is a good choice as long as it’s kept in good shape. If your horse is tied, a properly designed breakaway halter adds a layer of safety in case he panics. Rope halters are popular for groundwork, so follow the maker’s and your trainer’s guidance on whether to tie in one.
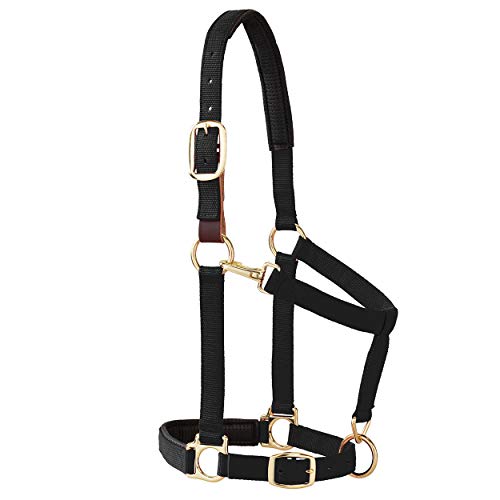

For grooming, start with a curry comb to loosen dirt, a stiff brush to flick it off, a soft brush to finish, and a hoof pick. Daily grooming is also the best time to catch heat, a fresh nick, swelling, or a sore spot before it turns into something bigger. I keep a small notebook in my truck and take dated photos of anything I find, so I can tell the vet exactly when it started.
Extra Tack You May Need Later
You may need extra gear for your horse or riding discipline, but none of these belongs on every beginner’s shopping list:
- Martingales: Limit how far a horse can raise his head, and they’re used in some disciplines.
- Leg wraps: Used for different jobs, from protection during exercise to bandaging during rest or recovery. If it’s an injury, ask your vet how to wrap it.
- Bell boots: Protect the heels and coronary band from overreaching, which is why you see them on barrel horses and racehorses.
- Leg boots: Splint boots and other leg boots protect the lower legs during fast work and jumping.

Any of these can do more harm than good if they’re fitted or applied wrong, so have someone experienced show you how to fit and use them first.
Buying and Caring for Tack
Fit comes first, and it’s specific to the horse. A saddle that fits one horse can pinch another, and a bridle that fits one horse may be too loose or too tight on another. Tack that rubs, pinches, or slips can cause sores and make a horse act up, so try gear on your own horse before you commit whenever you can. If you’re not sure about a saddle, a professional saddle fitter is worth the money.
Price doesn’t tell you everything, so inspect whatever you buy. Used tack can save you a lot, but check it closely first. Look for cracked or dry leather, stretched or torn holes, worn billets, loose or rotten stitching, bent or damaged buckles, and signs of repeated repairs. Pay extra attention to billets right at the holes and reins where they attach to the bit, since that’s where the stress concentrates. If a piece fails while you’re riding, it can get you or your horse hurt.
Leather lasts a lot longer when you take care of it. Wipe it down after rides, clean and condition it regularly, and store it somewhere cool and dry. Michigan State University Extension has tips for making tack last longer, and knowing how to clean horse tack properly pays for itself.
The best tack fits the horse, is in good condition, and makes the job safer for both of you.
About Miles Henry
Racehorse Owner & Author | 30+ Years in Thoroughbred Racing
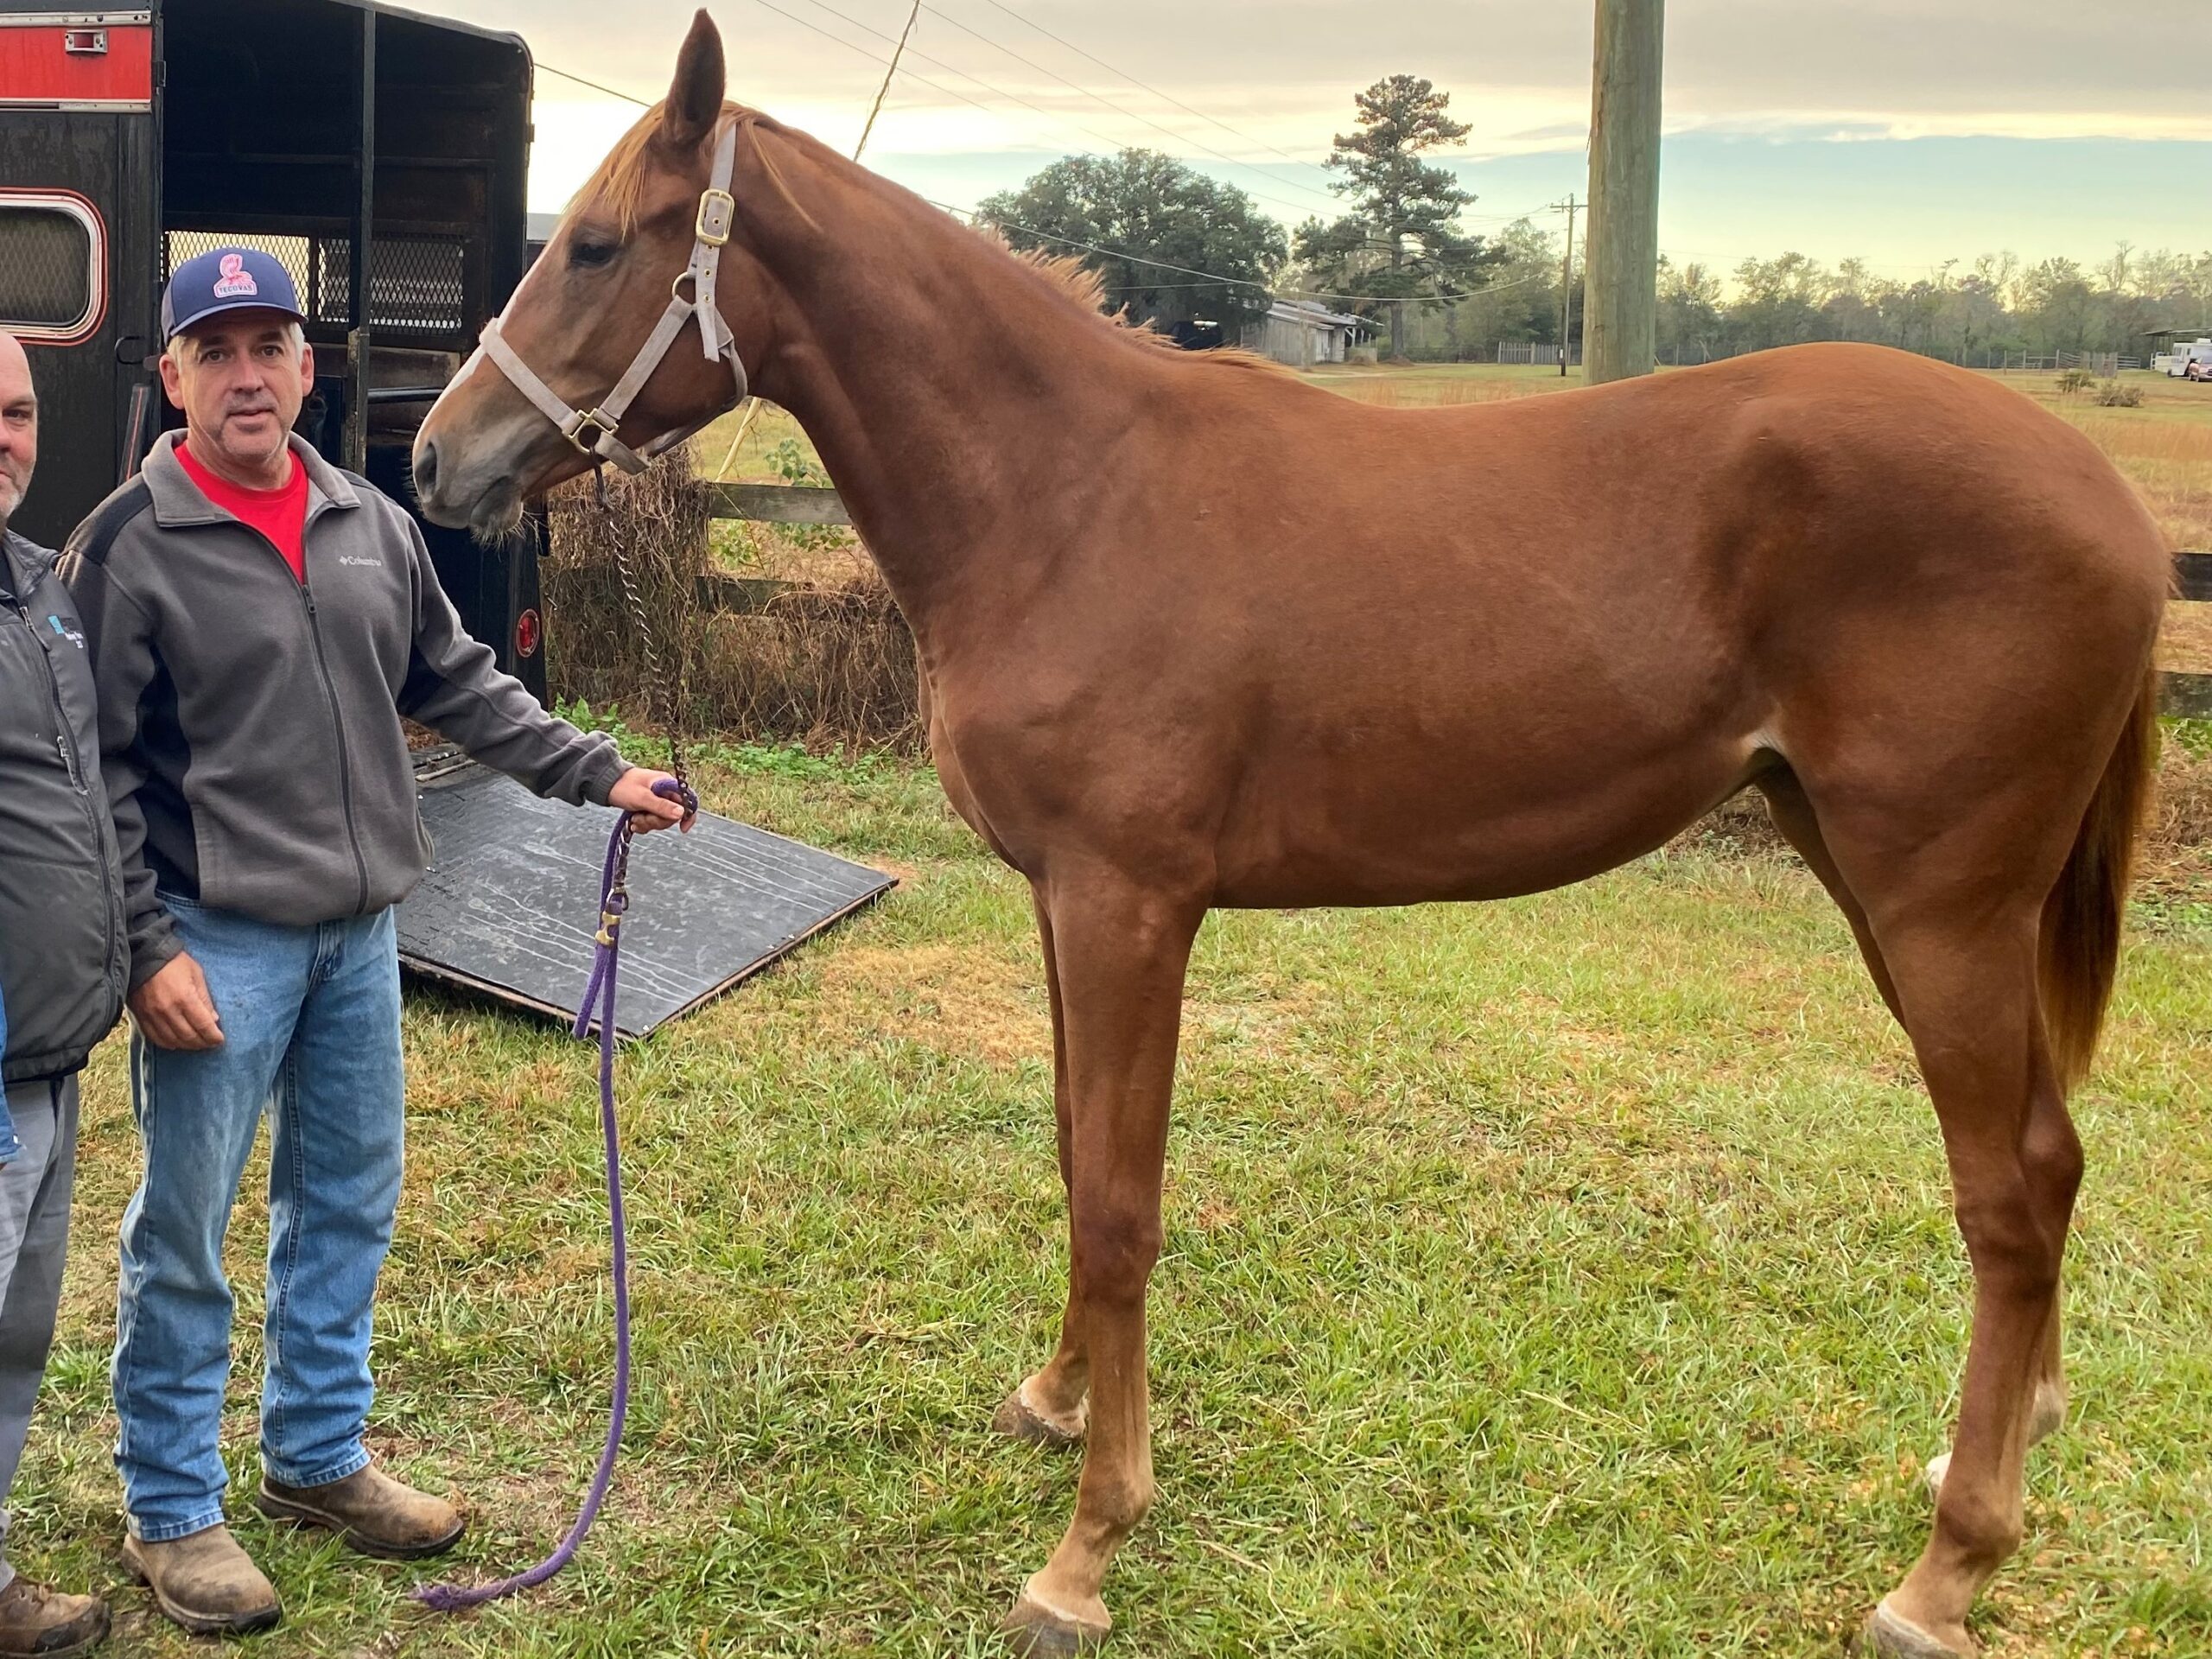
Miles Henry (legal name: William Bradley) is a professional horseman based in Folsom, Louisiana. He holds Louisiana Racing License #67012 and has spent over three decades managing Thoroughbreds at premier tracks including Fair Grounds, Delta Downs, and Evangeline Downs.
Expertise & Hands-On Experience: Beyond the track, Miles has decades of experience in specialized equine care, covering everything from hoof health and nutrition to training protocols for Quarter Horses, Friesians, and Paints. Every guide on Horse Racing Sense is rooted in this “boots-on-the-ground” perspective.
30 of their last 90 starts
Equibase Profile.

Connect with Miles: