Last updated: April 3, 2026
My grandson recently watched the flurry of activity in our barn after I brought a new horse home from the Fair Grounds. Between the vet checks, feed adjustments, and careful stall preparation, he noticed we treat a new arrival with far more scrutiny than the horses already in our string. He wanted to know why we follow such a rigid system.
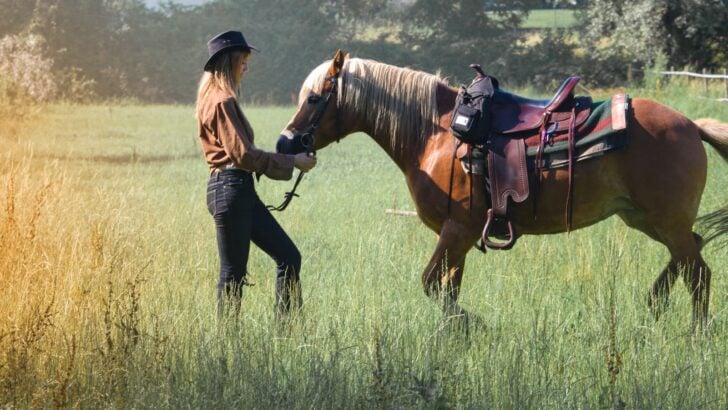
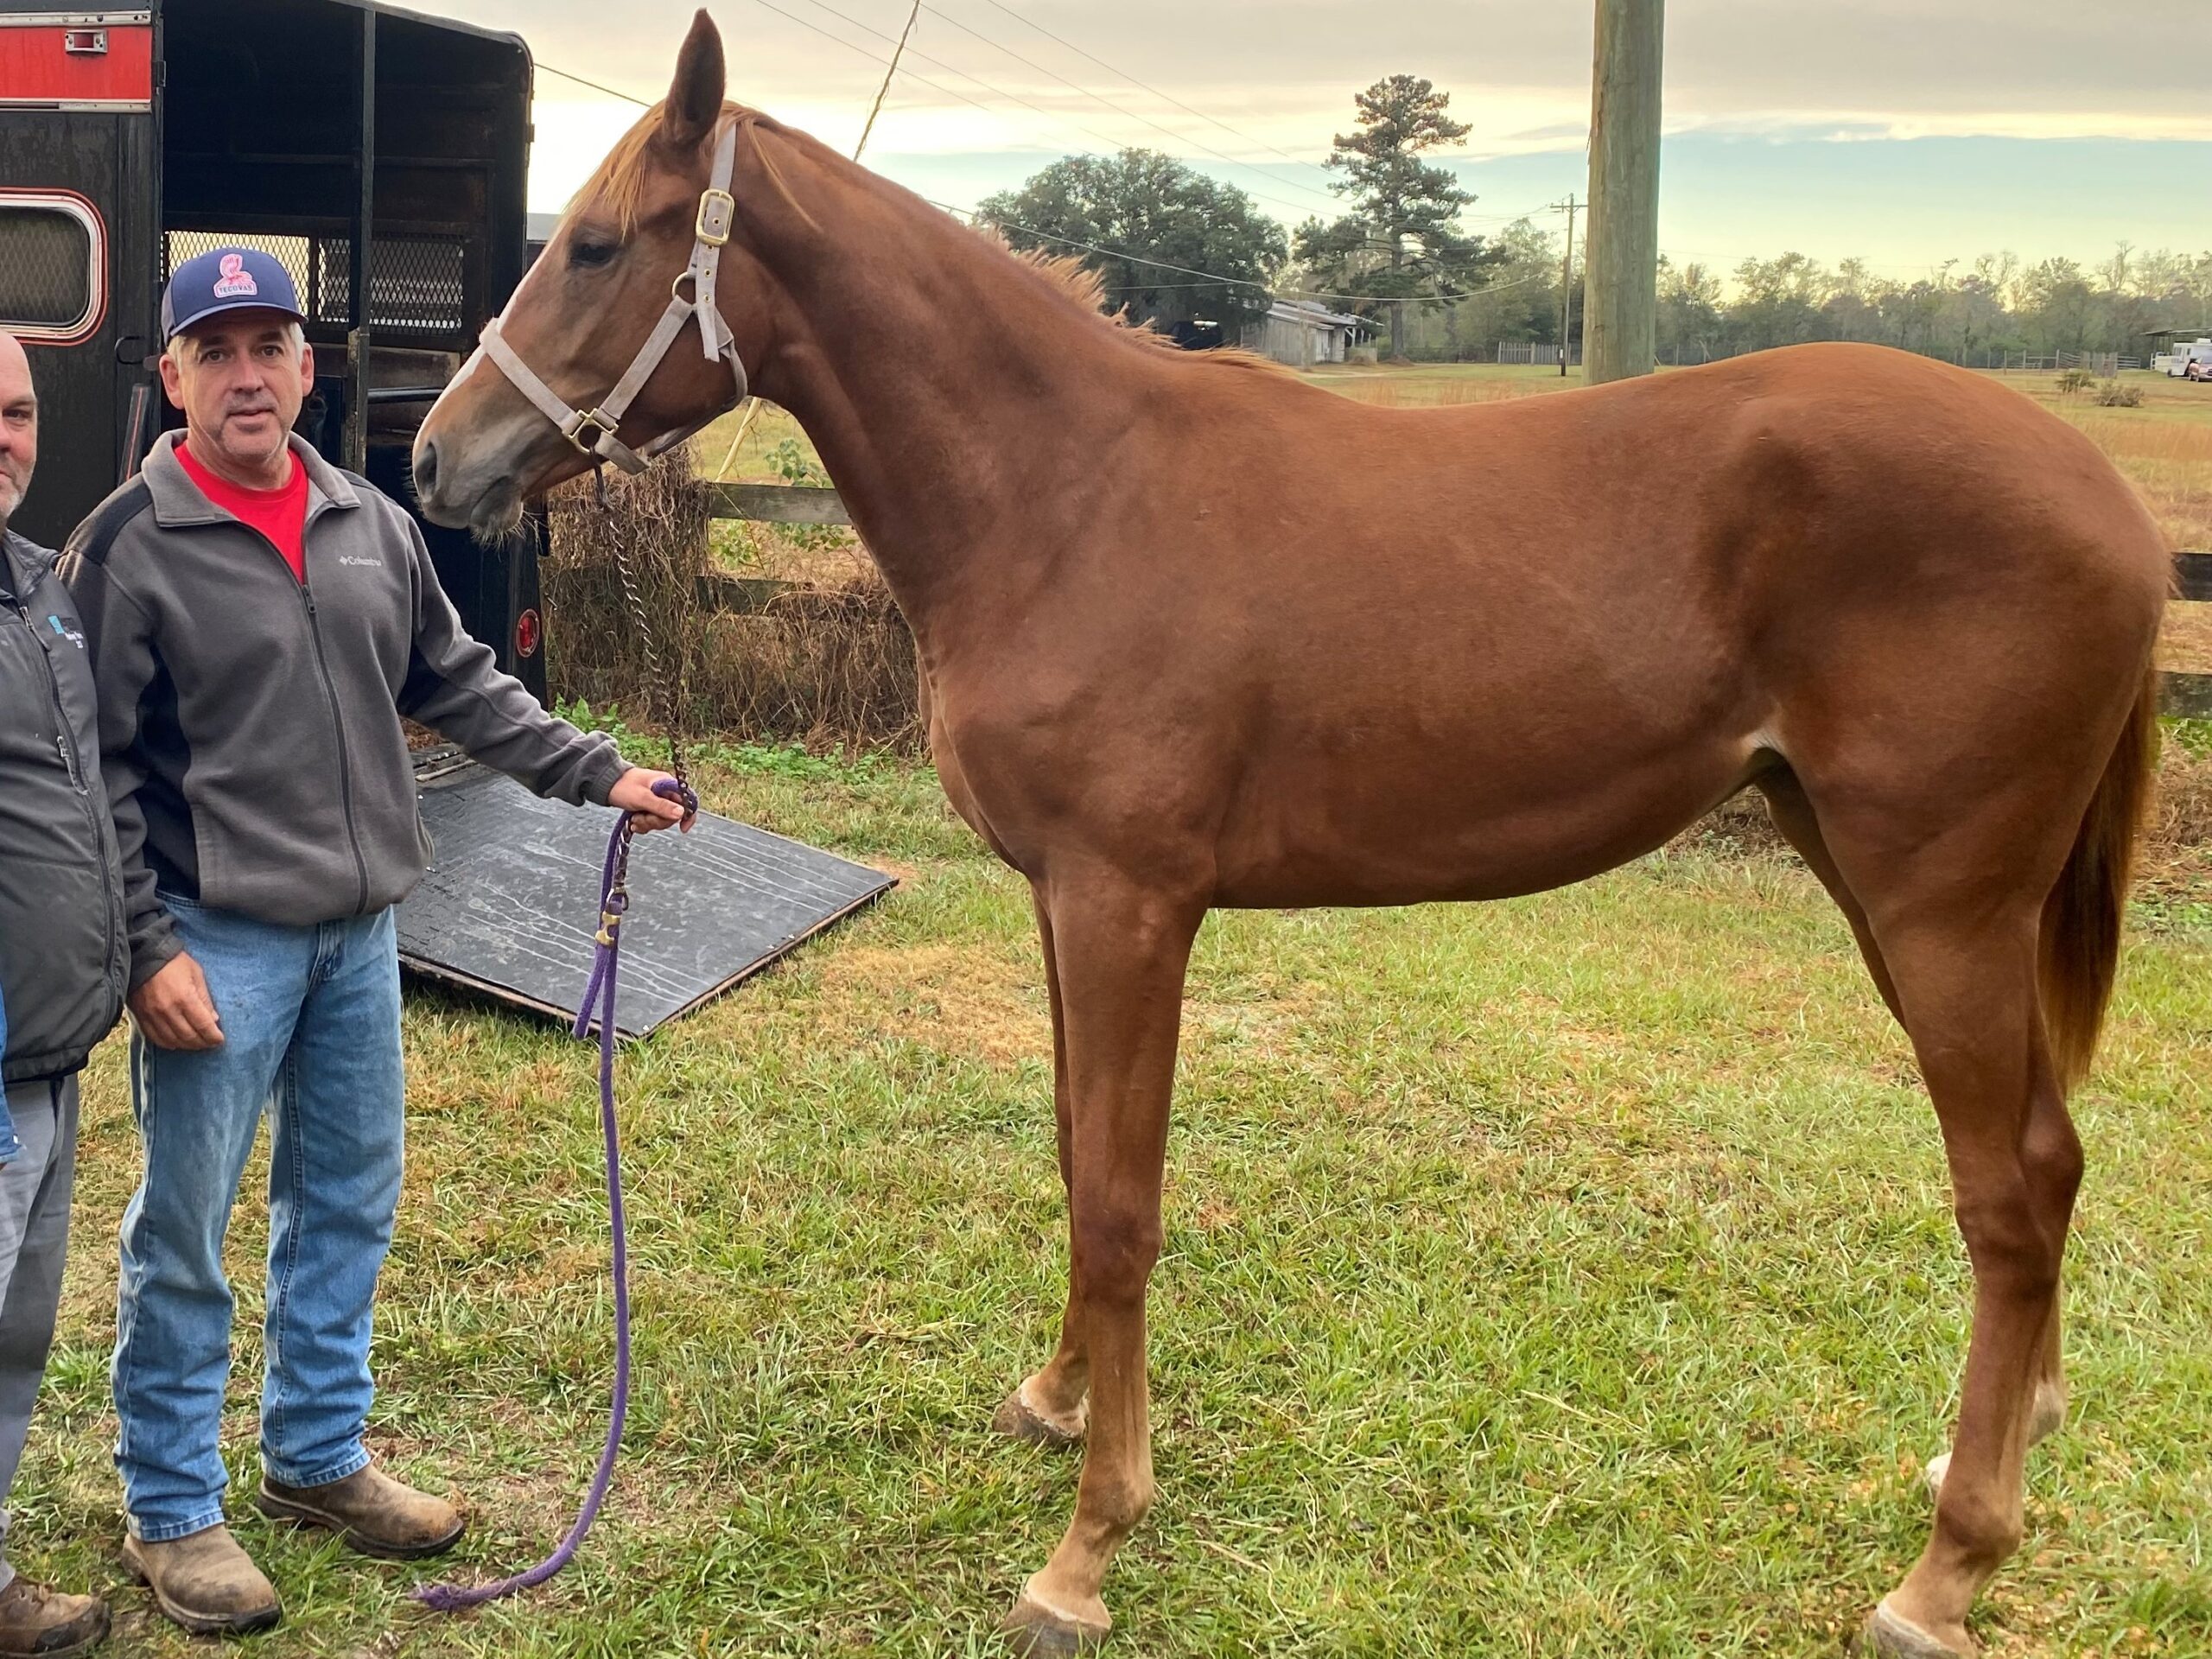
I explained that whether you’re moving a horse to a new home for the first time or bringing in a fit four-year-old gelding like Half Way There—whom I claimed this past Sunday—every new arrival is a “mystery box” of health and temperament.
Transitioning a horse to a new home with professional forethought is the only way to protect your investment and the animal’s welfare. Because horses are prey animals, a change in scenery triggers a “fight or flight” response that makes them prone to paddock injuries. Furthermore, the stress of moving can compromise their immune system, making them susceptible to respiratory illness or life-threatening conditions like impaction colic.
Here is the professional protocol I follow every time I move a horse to a new home—whether it’s a backyard prospect or a claiming race veteran.
Miles’ 2026 Reality Check: The Post-Claim Move
When I claimed Half Way There last Sunday at the Fair Grounds, the transition began the moment he stepped off the track. Moving a racing horse isn’t just about a new stall; it’s about a Form Restoration.
- The “Mystery” Factor: Unlike my yearlings, I don’t have this horse’s full medical file. The first 48 hours are spent checking for “hidden” heat in joints that the previous trainer might have been managing.
- HISA Readiness: Ensure your 2026 digital records are updated immediately. You cannot enter them back in a race until the jurisdiction recognizes the move.
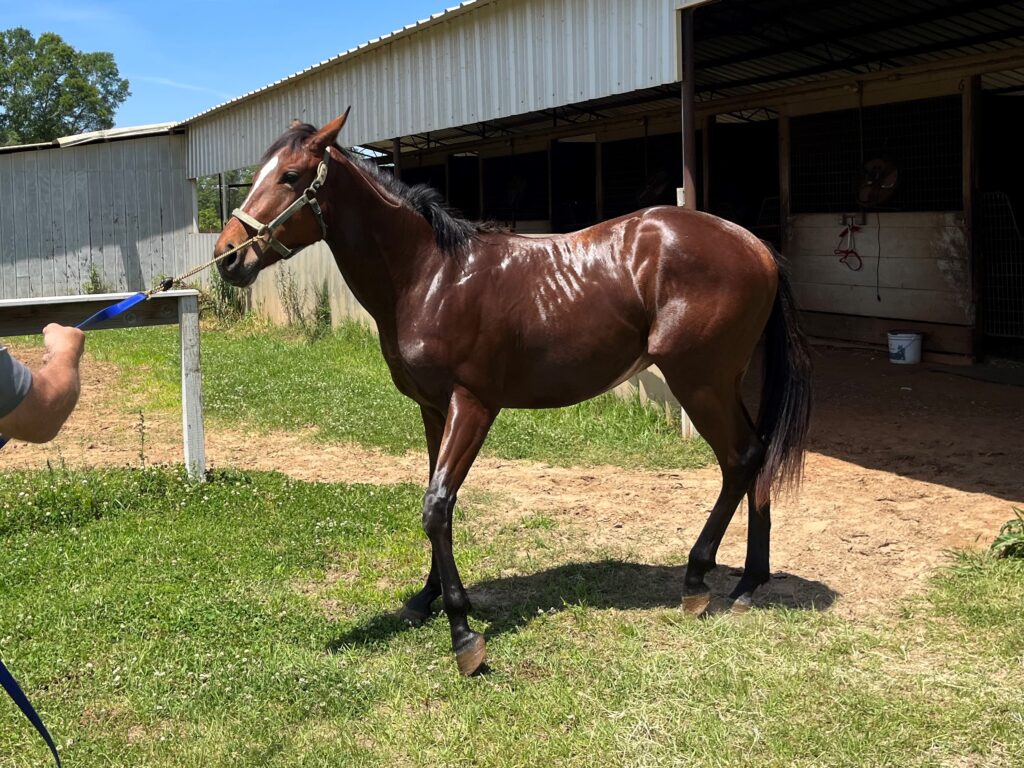
- The Soundness Baseline: As I did with my horse Corked, I evaluate the topline and hocks immediately. If they aren’t sound, they don’t earn.

Table of Contents
Prepare Your Facility Before Bringing a New Horse Home
When you move a horse to a new home, the transition begins before the trailer ever pulls into your driveway. A new environment is a major stressor, and in the horse world, stress is a primary driver of illness, injury, and digestive upset. Preparing your facility in advance protects both the new arrival and the horses already in your care.
Safety and Biosecurity: The Professional Standard
Biosecurity must come first. Before introducing a new horse to your property, ensure your entire barn is protected against preventable disease.
Mandatory Vaccination and Negative Coggins Test
Every horse on your farm should be up to date on core vaccinations and have a current negative Coggins test. The Coggins test screens for Equine Infectious Anemia (EIA), a viral disease commonly called “swamp fever.” There is no cure and no approved vaccine. Infected horses may die from the disease or become lifelong carriers capable of spreading it to others.
EIA is most often transmitted by biting insects such as horseflies. Because of its severity, never expose your resident horses to a new arrival without verified documentation of a current negative Coggins.
Relocation also elevates stress hormones like cortisol, which suppress the horse’s immune system. A stressed horse is significantly more susceptible to respiratory infections and opportunistic illnesses. Before unloading, request:
- Current vaccination records
- A recent negative Coggins test
- A recent wellness exam (essential for 2026 HISA digital record compliance)
- A detailed deworming history
Implement a 7–14 Day Quarantine
Even with proper paperwork, isolating a new horse for up to two weeks is a professional standard.
- Monitor Vitals: Take the horse’s temperature twice daily (Normal: 99°F to 101.5°F).
- Conduct Visual Checks: Watch for nasal discharge, coughing, or lethargy.
- Maintain Zero Contact: Do not share water buckets, feed tubs, or grooming tools.

Managing the Digestive Transition
Abrupt feed changes disrupt the delicate microbial balance in the hindgut. This can trigger gas colic, impaction, or laminitis. Before the horse arrives, determine their current grain type, portions, and whether they have been on lush pasture.
The “25 Percent” Feed Strategy
If you plan to switch the horse to your stable’s specific feeding program, follow this gradual replacement method over a 7–14 day window:
| Transition Phase | Current Feed | New Feed |
|---|---|---|
| Days 1–3 | 75% | 25% |
| Days 4–6 | 50% | 50% |
| Days 7–9 | 25% | 75% |
| Day 10+ | 0% | 100% |
Note on Pasture: If moving a horse to lush grass, limit turnout to 1–2 hours initially and provide ample hay beforehand to prevent gorging.
Hydration and Water Quality
Hydration is the most critical factor during the first 48 hours. Horses are sensitive to mineral differences; some fussy horses might stop drinking if the water tastes unfamiliar.
Signs of Dehydration:
- Skin Tenting: Pull the skin on the neck; it should snap back immediately.
- Capillary Refill: Gums should be pink and return to color within two seconds.
- Behavior: Watch for a dull eye, lethargy, or dark urine.
Miles’ Practical Tip: If a new horse refuses your water, try adding a small amount of apple juice or a flavored electrolyte powder to mask mineral differences until the horse acclimates.
Stall Design: The Performance Standard
In a racing stable like mine at Folsom, a stall is more than a room—it’s a recovery suite. When a horse like Half Way There moves in, the environment must prioritize lung health and leg safety.
Miles’ Reality Check: Louisiana humidity is the enemy of a racehorse’s lungs. I ensure every stall has maximum airflow to prevent EIPH (exercise-induced pulmonary hemorrhage) and respiratory stress.
- ✓ Ventilation: Open-grill top partitions let horses see neighbors (reducing stress) and keep air moving in the 90°F heat.
- ✓ Bedding & Flooring: High-quality rubber mats over a leveled base with 6 inches of pine shavings save hocks and cut “topline” issues, like those I’m managing with Corked.
- ✓ Safety Audit: Check every inch for “claim-box surprises.” Spot a “weaver” or stall-kicker on Day 1 to keep a $5,000 claim from becoming a vet bill.
Ensure stalls are safe with room for natural movement. A 12×12 stall lets horses lie down and stand comfortably.
Partitions should hit 8 feet to stop leg catches; ceilings at least 10 feet, or open to rafters for air.
Add a 4-foot window for light/ventilation. Use rounded hardware like bucket hangers, hay bags, eyehooks, and snaps. Sharp edges? A horse will find them.
Fencing: Managing High-Energy Turnout
A new racehorse’s first turnout is risky—full of post-race energy without boundary sense.
The Miles Henry Fencing Standard
- Visual Sightlines: Skip single-strand wire. Horses need 50-yard visibility—use a 2×6 wood top-rail over V-crimp woven wire.
- “Isolation Buffer”: For new arrivals like Half Way There, avoid shared fences initially. Keep a 10-foot gap to stop striking.
- Gate Safety: 12-foot gates are the minimum to allow for Thoroughbred wheel-arounds while keeping the handler out of the kick zone.
*Note: Fence walkers need long rectangular runs to reduce repetitive ankle torque.
Turnout is essential, but high-strung horses need visible wood boards (inside posts). Woven wire only—no barbed. Fence 4.5-5 feet high, first board 8 inches up. See Penn State Extension for layouts.
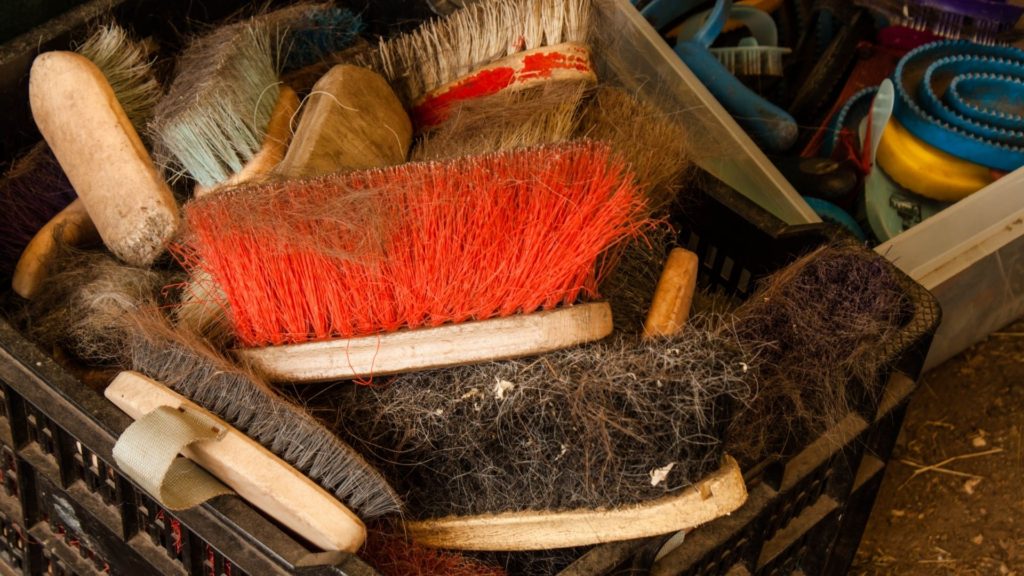
Some Grooming Supplies Should Never Be Shared
Infectious skin and respiratory organisms spread quickly through shared equipment. While rinsing brushes between uses is good practice, true biosecurity in a professional barn means assigning each horse its own dedicated set of supplies. Infections such as rain rot (dermatophilosis) are highly contagious, and routine washing often fails to eliminate bacteria completely.
For every new arrival, we purchase a dedicated set of grooming brushes and a hoof pick. It’s a small investment compared to the cost and downtime associated with preventable infections. We also assign a new halter and lead rope to each horse to reduce cross-contamination and improve organization.
I prefer leather halters because they are designed to break under pressure. Nylon halters are common and widely used, but I’ve seen nylon hang a horse in a stall and cause severe injury. Leather provides a built-in safety release that can prevent catastrophe.
Bits are another item we never share. Beyond individual fit, sharing bits is unsanitary. Bacteria and saliva transfer through shared bits make cross-use an unnecessary risk. While it isn’t practical to duplicate every piece of equipment in a barn, grooming tools, halters, and bits should remain horse-specific whenever possible.
Essential Arrival Kit: New Horse Checklist
- Grooming brushes (individual set)
- Water buckets & bins
- Halter & lead rope (leather preferred)
- Hoof pick
- Hoof oil & applicator
- Sponges
- Sweat scraper
- Stall hay bag or feeder
- Hoof boots
- Leg wraps or bandages
- Fly spray
Secure Insurance Coverage Before Transport
If you plan to insure your horse, confirm the policy is active before the trailer pulls out. Equine mortality and major medical premiums typically run 3–5% of the horse’s insured value annually. While that may seem significant, it is minimal compared to the financial and emotional cost of losing a high-value athlete.
We once purchased a promising yearling at a sale and secured coverage immediately. On the drive home, we were involved in a serious accident, and the horse sustained a life-threatening injury. Because insurance was already in place, we were protected. Coverage is not something to “set up later.” It should be finalized before the trailer doors close.
Below is a helpful video offering additional guidance on helping a horse settle into a new environment.

The Day 1 Physical Assessment: Beyond the Trailer
When we unload a new horse, we don’t just put him in a stall and walk away. We take him on a slow walk around the facility to let him take in the surroundings and see his new neighbors from a safe distance. If he’s traveled a long distance, a solo session in a paddock is essential—it allows him to stretch out so you can watch him move and ensure he hasn’t developed any “shipping” lameness that needs a vet’s attention.
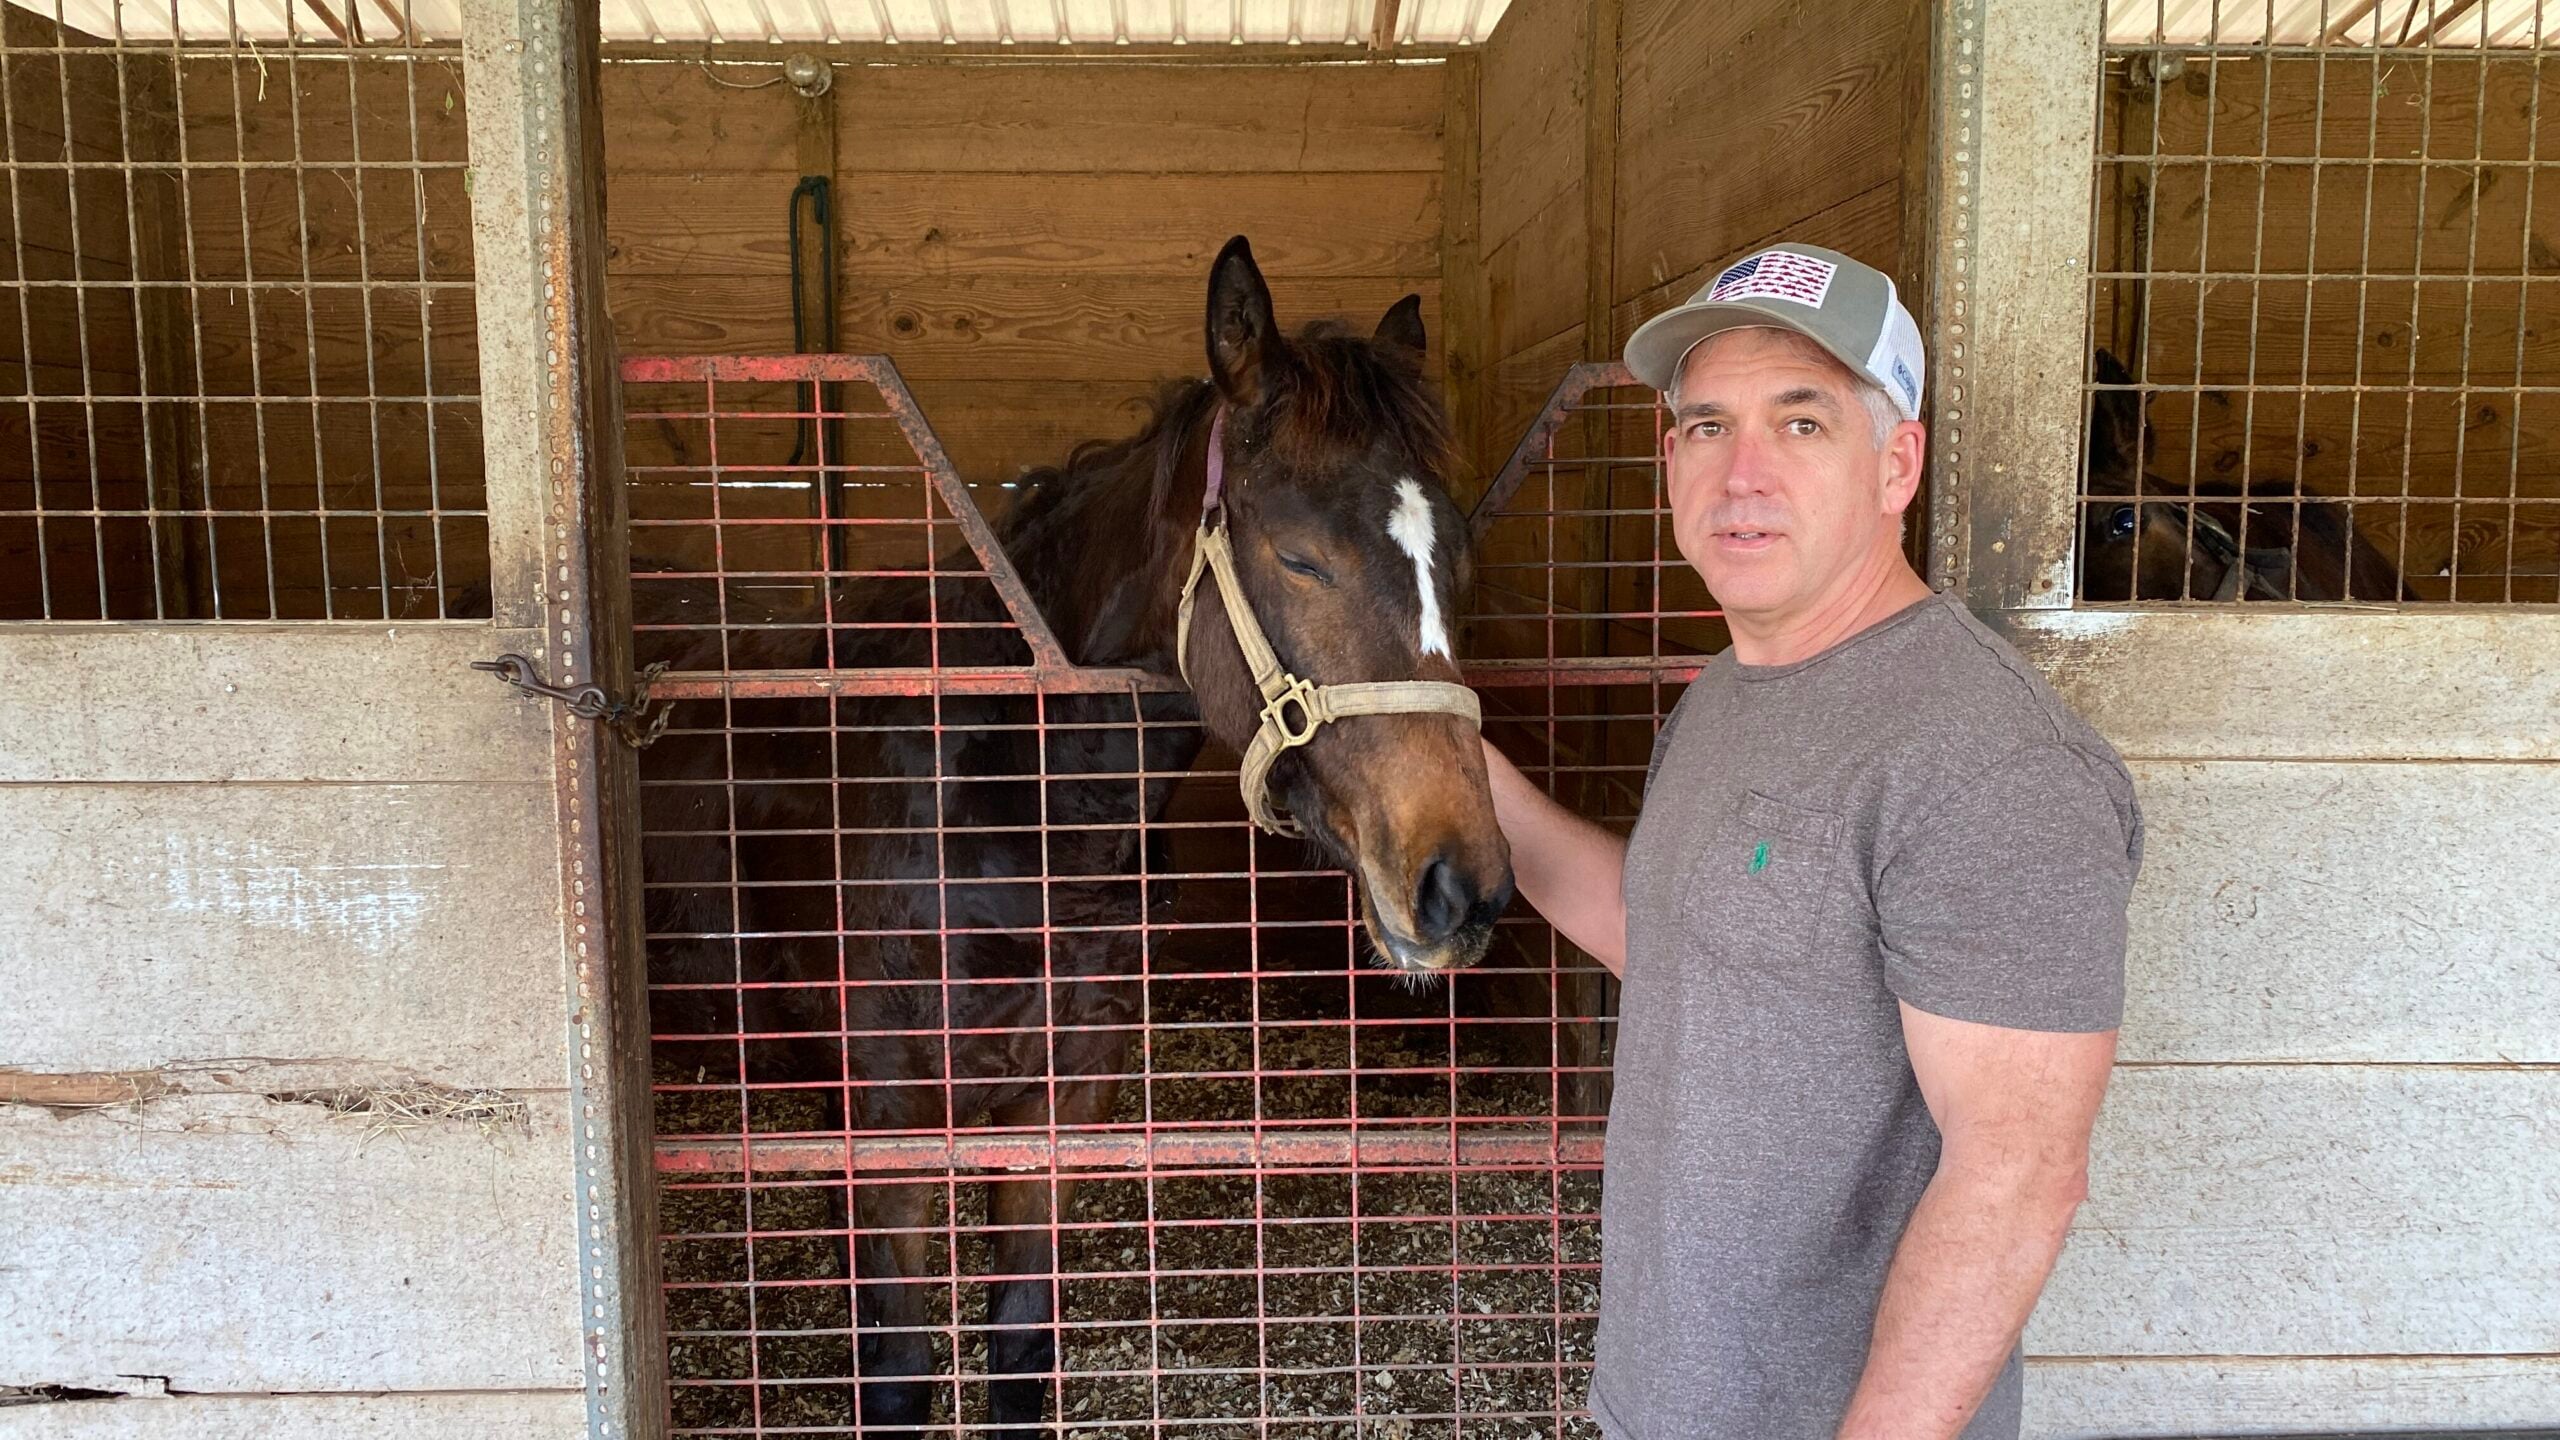
Before he settles in, perform a thorough physical inspection. This is more than grooming; it’s about becoming familiar with the horse’s “normal.” Use your hands to rub over his entire body, feeling for abnormalities, swelling, or heat in the legs. Pay special attention to hidden areas like the inside of the ears and under the tail. We recently found mites in a new arrival’s ears during this check; catching it Day 1 prevented an outbreak across the entire barn.
Miles’ Handling Tip: When grooming or inspecting a new horse, remain calm but alert. Stand about a foot away and watch his ears and expression. If he pins his ears or stomps, he’s likely irritated. Don’t jerk him around; move purposefully and relax. Over time, this routine schedule builds the bond and teaches the horse the manners you expect in your barn.
Finally, keep a close watch on his feet during the first week. A change in terrain or bedding can lead to thrush or softening of the hoof walls. If you notice any change in his gait or the condition of his hooves, have your farrier evaluate him immediately.
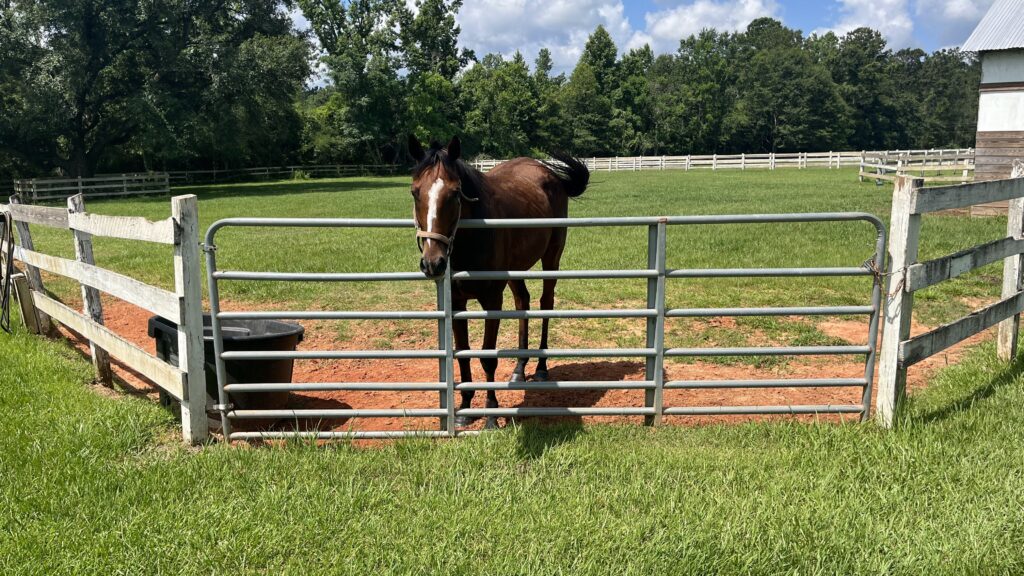
Herd Hierarchy: Safe Pasture Introduction
Transitioning a horse to pasture life requires a gradual approach. After grooming, instead of returning the horse to its stall, place him in a paddock adjacent to the herd. This “fence-line introduction” allows the new arrival to communicate with other horses safely while becoming comfortable with the facility’s layout.
Introducing a horse to a herd depends heavily on the personalities involved. In my barn, our horses are typically gentle and accustomed to new arrivals, but every facility is different. If you are introducing a horse to a large group, I recommend bringing one gentle “buddy” into the paddock with the new horse first. Ensure the paddock is large enough to avoid tight corners where a horse could get trapped.
Miles’ Herd Logic: Understanding your herd’s hierarchy is paramount. Watch for weight loss or a horse “getting off their feed” during the first week; stress can settle in the gut quickly. If you notice signs of bullying or fresh pasture kicks, separate the horse immediately. It’s better to have a lonely horse for a few days than a sidelined horse with a broken bone.
How Long Does It Take for a Horse to Get Used to a New Home?
My new horse arrived just a few days ago, and my grandson is already anxious to start riding. A few days can feel like an eternity to an impatient child, but a horse’s adjustment timeline depends entirely on the individual.
Most horses begin settling in within a couple of weeks. However, every animal is different, and each will adapt to a new environment at its own pace. I’ve owned horses that could step off the trailer and walk straight into a pasture without missing a beat. I’ve also had horses that took six months before they truly accepted our farm as home.
The best approach is patience. Your horse will settle in on its own time — not yours.
Let Your Horse Adjust Before Riding
After the first few days, you should have a clearer sense of your horse’s temperament and stress level. If the animal appears to be adjusting well, begin with groundwork instead of stepping into the saddle.
Working on a lunge line or in a round pen allows you to evaluate fitness, flexibility, responsiveness, and energy levels without the added pressure of a rider. It also builds communication and reinforces boundaries in a controlled setting.
A few days of ground evaluation will usually tell you whether the horse is ready for the saddle. If the horse remains reactive, distracted, or tense, stay patient and continue working from the ground. Pushing a horse into work before it feels secure in its surroundings can create setbacks and undo weeks of progress.
Let the horse dictate the pace. “In the long run, patience during this transition produces a safer, more confident, and more reliable partner.
About Miles Henry
Racehorse Owner & Author | 30+ Years in Thoroughbred Racing
Miles Henry (legal name: William Bradley) is a professional horseman based in Folsom, Louisiana. He holds Louisiana Racing License #67012 and has spent over three decades managing Thoroughbreds at premier tracks including Fair Grounds, Delta Downs, and Evangeline Downs.
Expertise & Hands-On Experience: Beyond the track, Miles has decades of experience in specialized equine care, covering everything from hoof health and nutrition to training protocols for Quarter Horses, Friesians, and Paints. Every guide on Horse Racing Sense is rooted in this “boots-on-the-ground” perspective.
30 of their last 90 starts
Equibase Profile.
Connect with Miles: